


If you are just starting out with beekeeping, or are brushing up with your hive inspections, there are a few key things to look out for. It is important to conduct hive inspections no less frequently than about once every week or two during the busy season (here in the Bay Area, that's from about February until August, but in other places that window is shorter).
It's important to check around this frequently because you can catch any important developments with hive health or potential signs of swarming before they get too far along to prevent or fix. Sometimes it helps to keep a hive inspection notebook to take note of the following categories, so you can track information over the season and keep straight which hives are doing what. It is particularly important to keep a couple of hives in your first year, so you can compare notes on each and spot similarities or differences.
 So, what are you looking for during a hive inspection, anyway?
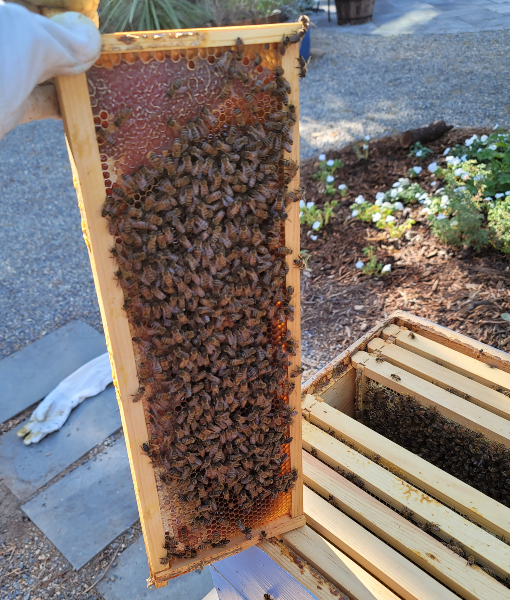
1. Brood/Queen: The very first thing I check for is brood. Although there are some times where it is important to find the queen herself, oftentimes you can skip the hassle if you can identify brood in different stages of development. Are there eggs? Larvae in different stages? That should tell you that a queen is actively laying. What pattern are they in? Is the brood clustered pretty evenly together, or is it sparse and spotty? Can you see all of those new larvae in that picture? That's a great sign of a healthy queen.
If your brood is sparse, or you can't find eggs/larvae in the cells, the next question is: can you find the queen?
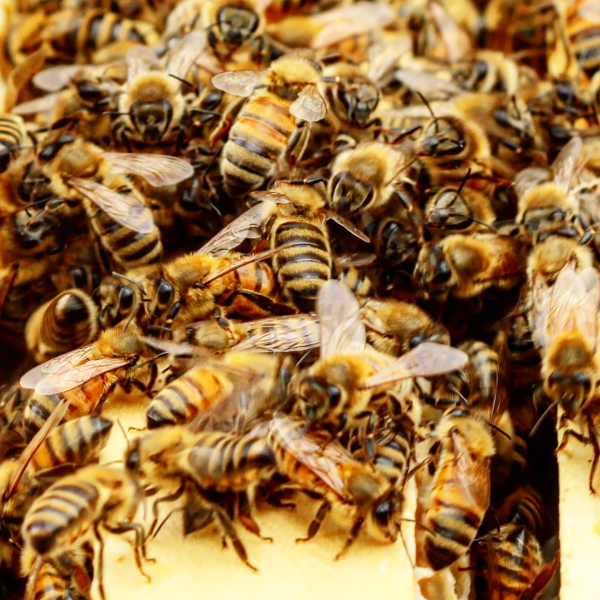
 If your hive is queenless, you can usually tell by the temperament of the bees. Queenless bees are grouchy! They will buzz at you more loudly and aggressively, and will be bouncing off of any part of you they can. You may even get a few stings. Dealing with a queenless hive is a topic for a different post, but it is important to know the signs that your queen is healthy and laying.
2. Space: How are the bees using the boxes you have on? My bees have this habit of storing brood in the honey supers and honey in the brood chamber. This year, I switched to all medium honey supers so I don't have to deal with switching boxes around and trying to encourage the queen into different boxes with a queen excluder. I prefer not to use queen excluders, because I like letting my queens decide where they want to lay their eggs. Who am I to tell her she can't lay eggs in a honey super, just because it's meant for honey? You do you, girl.
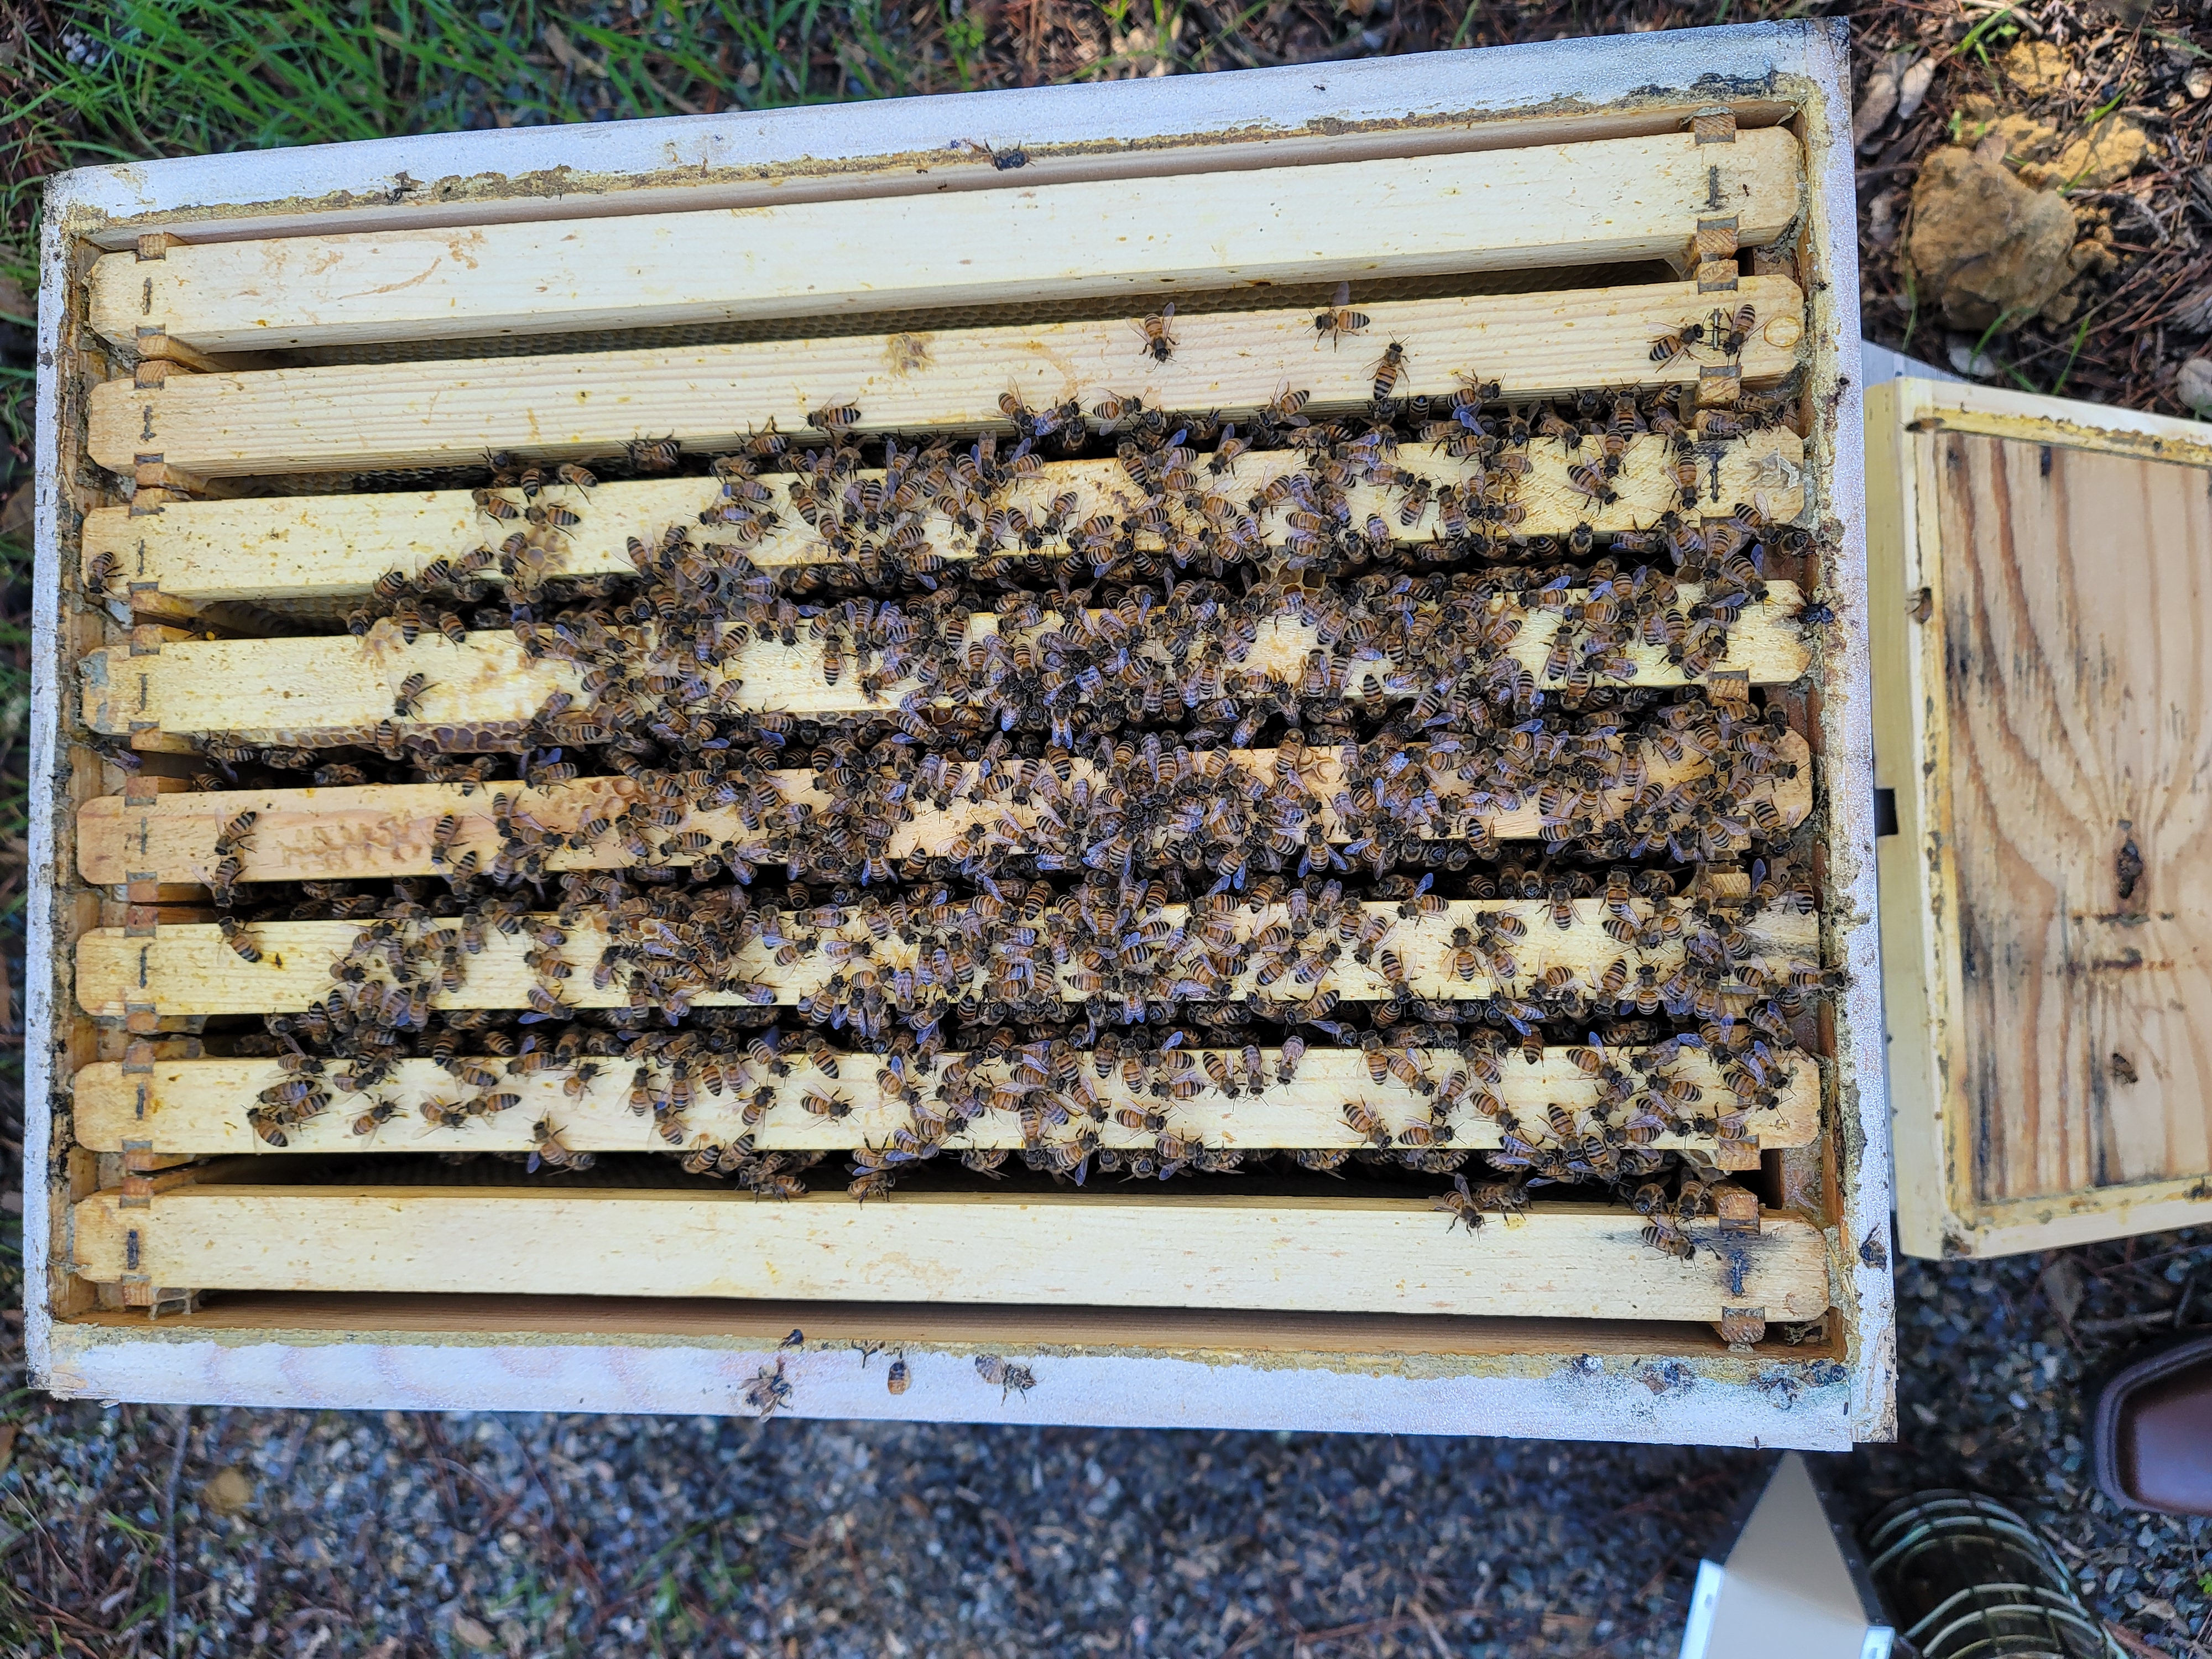 A good sign that it's time to add another box is when you see the cluster moving upwards, and filling the top box to about 60-70% with brood and/or honey (if you use 8-frame equipment, that's about 5 or 6 frames; 10-frame, it's about 6 or 7). If bees feel cramped, they will start to feel the need to swarm and find someplace with more space-- oftentimes, that place they go to search for somewhere with more space is the tallest tree in your backyard. To prevent swarming, give them enough space to grow. But, be aware that sometimes in late summer bee populations look like they're large and growing, but they are actually at their peak for the season and adding another box can inspire critters like hive beetles, ants, or spiders to move in and put strain on the hive.
A good rule of thumb: if there is a nectar flow, and the bees are filling in frames quickly, add a box with drawn comb frames (if you have them) and see what they do with it.
 You can checkerboard frames in the new box by moving blank, drawn comb frames down into the filled boxes, and moving brood- or honey-filled frames into the new box. Observe after about a week or two and determine if they are filling in the new frames. You don't want your bees to get honey bound, which is essentially where the bees are so efficient at storing honey on their brood frames and around the brood that they prevent the colony from expanding. They block themselves in with honey.
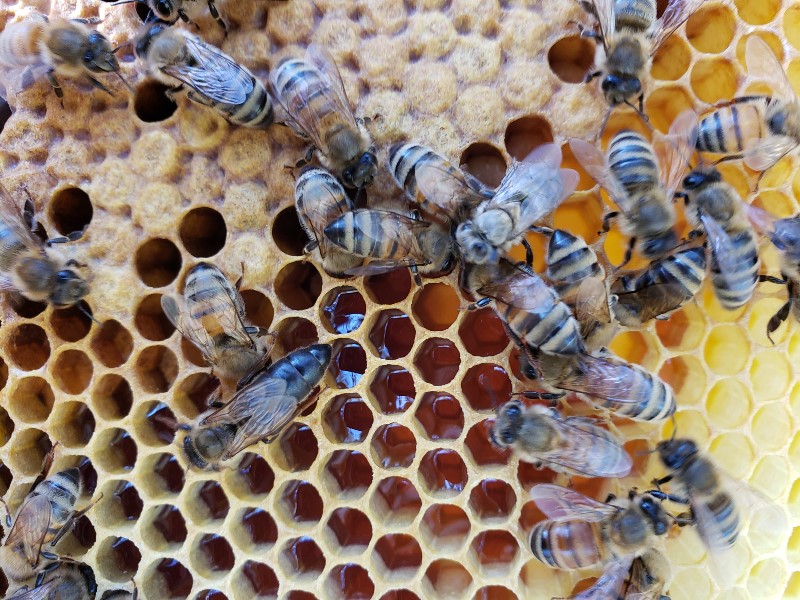
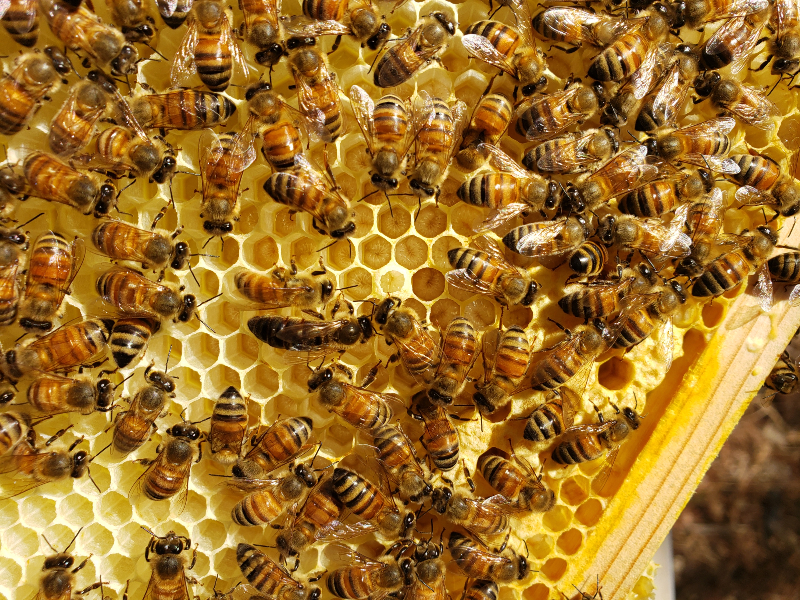
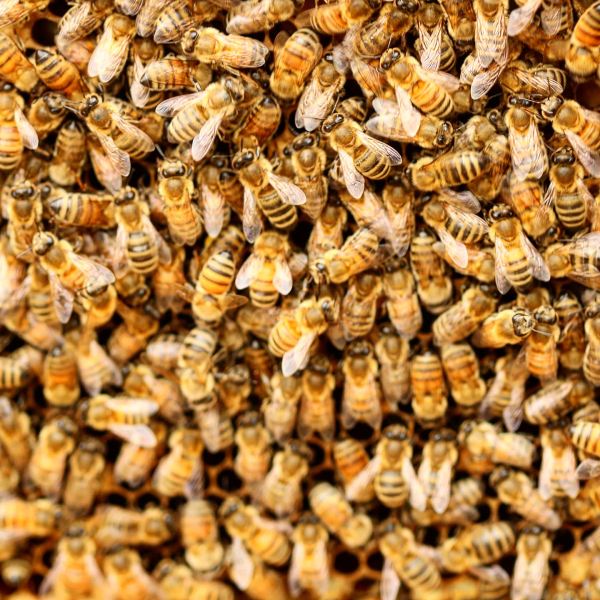
3. Honey and Pollen Stores: Next, I do a quick check on honey and pollen stores. Are they storing pollen? You can find pollen in strips around the edges of the brood frames. Pollen is shoved into the cells by the returning worker bees to make "bee bread", which is a nutritious meal for the baby bees. In the corners of the brood frames, you can usually find nectar. How much is capped with wax, and how much of it is shiny and open (still being worked on by the bees)?
 Typically, there will be stored honey in the corners of brood frames as well as honey frames surrounding the middle 3-4 frames with brood.
When I was working with 10-frame hive equipment, I often would notice that the bees pretty much left the two outermost frames sprase with honey, whereas the 2-3 frames surrounding the inner brood area were capped and actively worked honey stores. The reason for this is that the bees don't want to have to walk a distance to eat or work on the honey. Honeybees much prefer to grow upwards than outwards, since it is easier to access the main cluster vertically than horizontally. I prefer 8-frame equipment for that reason, and because it's lighter for me to carry. I notice the bees use more of the frames in an 8-frame setup.
4. Abnormalities or Mites: Varroa mites are everywhere. It takes years of thoughtful bee breeding, treatment, and research to be a treatment-free beekeeper. The best thing that can be done to deal with varroa is to be proactive. I like to follow the varroa growth chart for my treatment schedule. Even if you can't physically see mites on your bees, they are there!
Every time you open the hive, ask yourself: is there any evidence of mites? Do you physically see mites on your bees, or do you see signs of mite-carried diseases, such as bees with shriveled wings? Have a treatment plan whether you see mites or not! They can get ahead of you faster than you realize.
 Mite populations slowly grow throughout the summer and peak in around July or August. I usually knock them back with thymol (Apiguard) in the late summer, and then treat again in fall with formic acid (Mite Away Quick Strips). If you want you check mite levels, you can do an alcohol wash and see how many mites are physically on your bees. Some folks prefer to do powdered sugar rolls, but they are much less consistent and accurate. Alcohol washes sacrifice some bees, but in my opinion, many of those bees would have passed if left untreated. It's a decision personal to the beekeeper, but I am rather science-minded and prefer the most accurate mite count that I can get to be sure that the health of the entire hive is managed effectively.
During the spring, you can also check your frames for conical or peanut-shaped supercedure/swarm cells.
If you see these cells, it means the bees are planning to make a new queen and half the hive will be leaving with the old queen! This means it is time to make a split. I plan to make another post on splits after I do my splits this year, so stay tuned for more information on that.
The best advice I can give to new beekeepers is to write down information during or after each inspection in each of these categories, and then research what you found before taking action.
 If you study what each thing you find in the hive means before moving things around, it is less stressful for the bees and there is less that they need to fix or rebuild from your intervention. Trust the bees to know what they are doing. There is typically a reason behind everything that they do. Connect with local bee guilds or find groups online for your area, and ask others about the things you are finding. The bees can usually wait another week before you intervene, and you will feel much more confident and prepared if you take a step back and wait to act. I like to think that we are on the bee's schedule, not that they are on ours.
Do you have any other bee questions or comments? Feel free to email me or catch me on Facebook or Instagram (links at the top of the page). Happy Beekeeping!
 Want to join the flock?