

This is my fifth year as a beekeeper and my third year keeping my own hives. I usually paint the outside of my hives and that's good enough for me. This year I got the bug to try out pyrography. I've always loved the natural look of the plain hive body, and I wanted to see if I could get a finish that both keeps the hive weather-protected and more natural-looking.
Interested in trying this project at home? Here's how I did it.
What You'll Need:
The Boxes: First thing's first, you need hive bodies with an unfinished surface to start this project. I order my unbuilt, unfinished hives from Mann Lake. If you do not want to order unbuilt boxes, I have included a link above to an unfinished hive set from Amazon that you can purchase. The boxes themselves will need to be finished, but the hive stand and entrance can stay unfinished; the bees prefer it that way!
Once you have your hive bodies built, it helps to give them a quick sanding with sandpaper. This will keep the surface smooth so that your pyrography pen doesn't get stuck on the wood.
The Woodburning Kit: I had never used a pyrography pen before. The link above is the kit that I used, and I found that it worked pretty well. Be advised that pyrography pens get hot. Like, HOT hot. You may be tempted to switch out the tip of your pen and cut corners but make sure you wait until it has cooled down (or use pliers, gently) to change it out. These things can get to 1000° F, so... be careful out there.
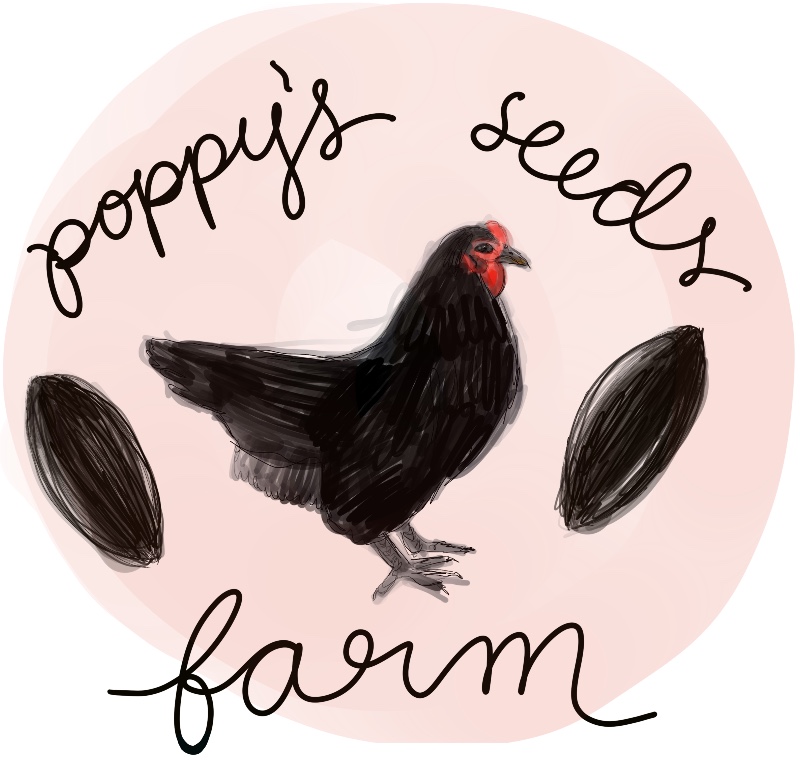
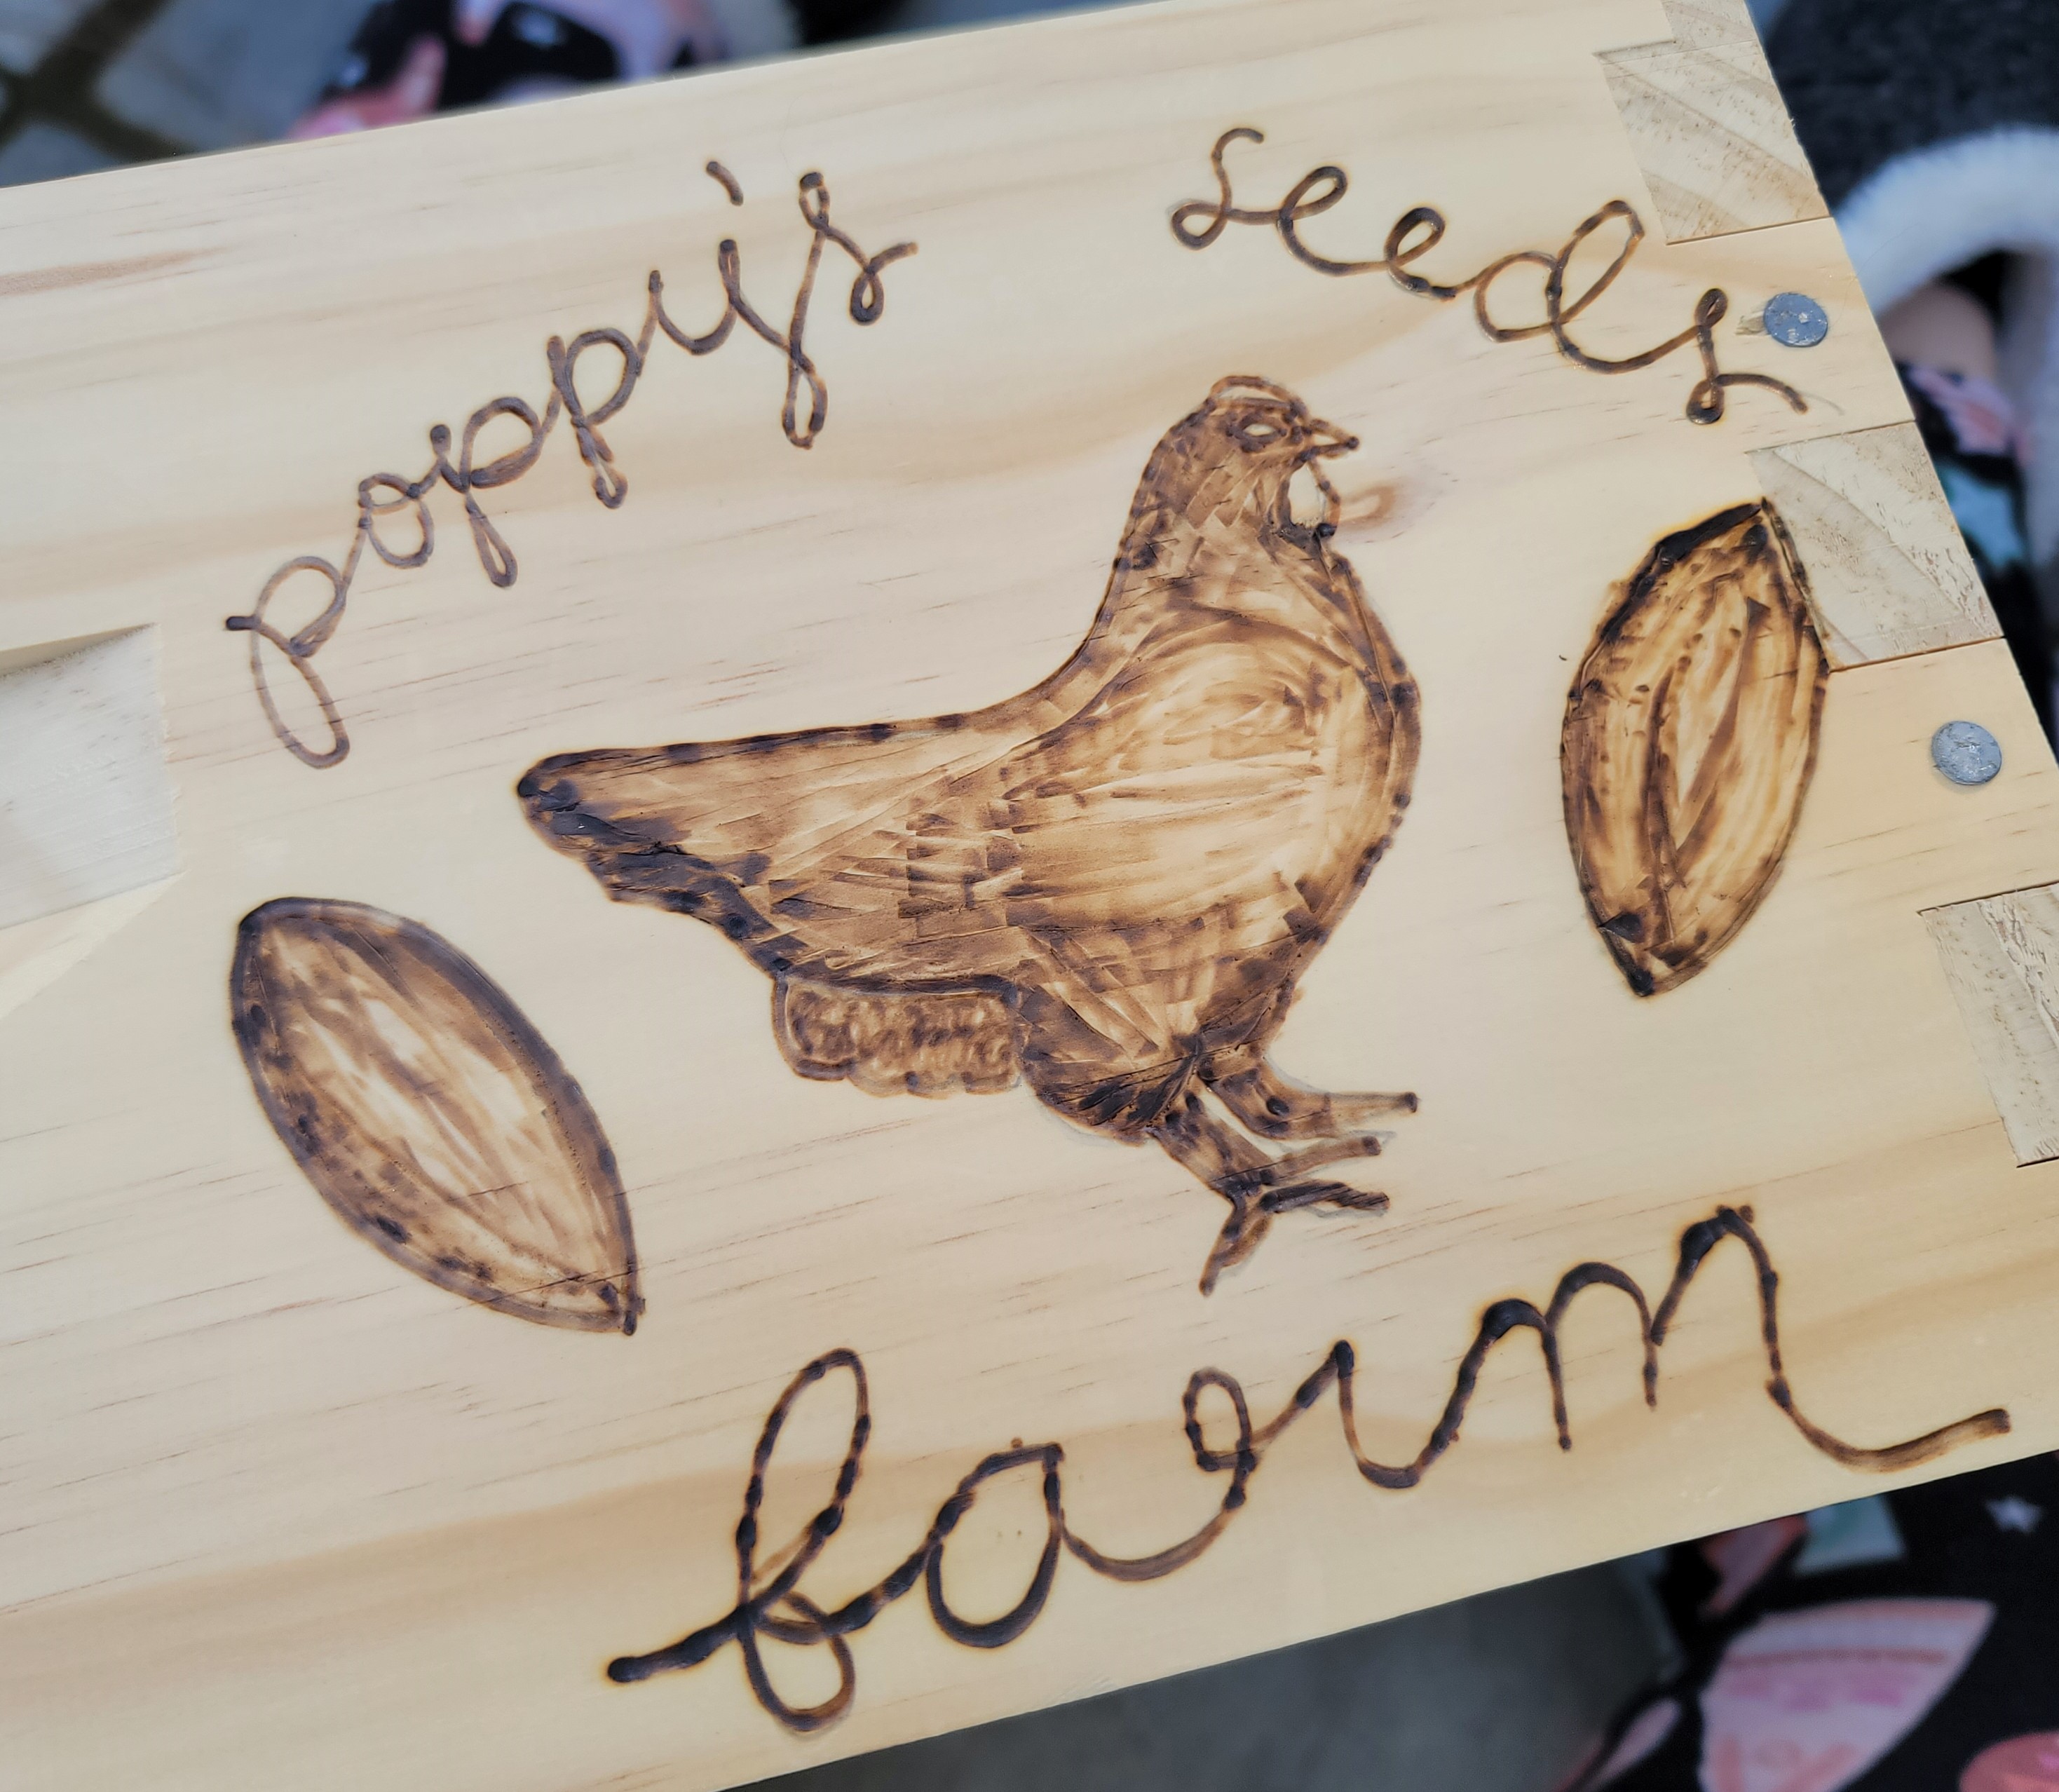
The Process: Once your hive bodies are prepped and you have your pyrography pen set, it's time to pick a design that you want to burn into your hives. I wanted to start with my logo. I printed out an image of it and cut it down to the size I wanted.
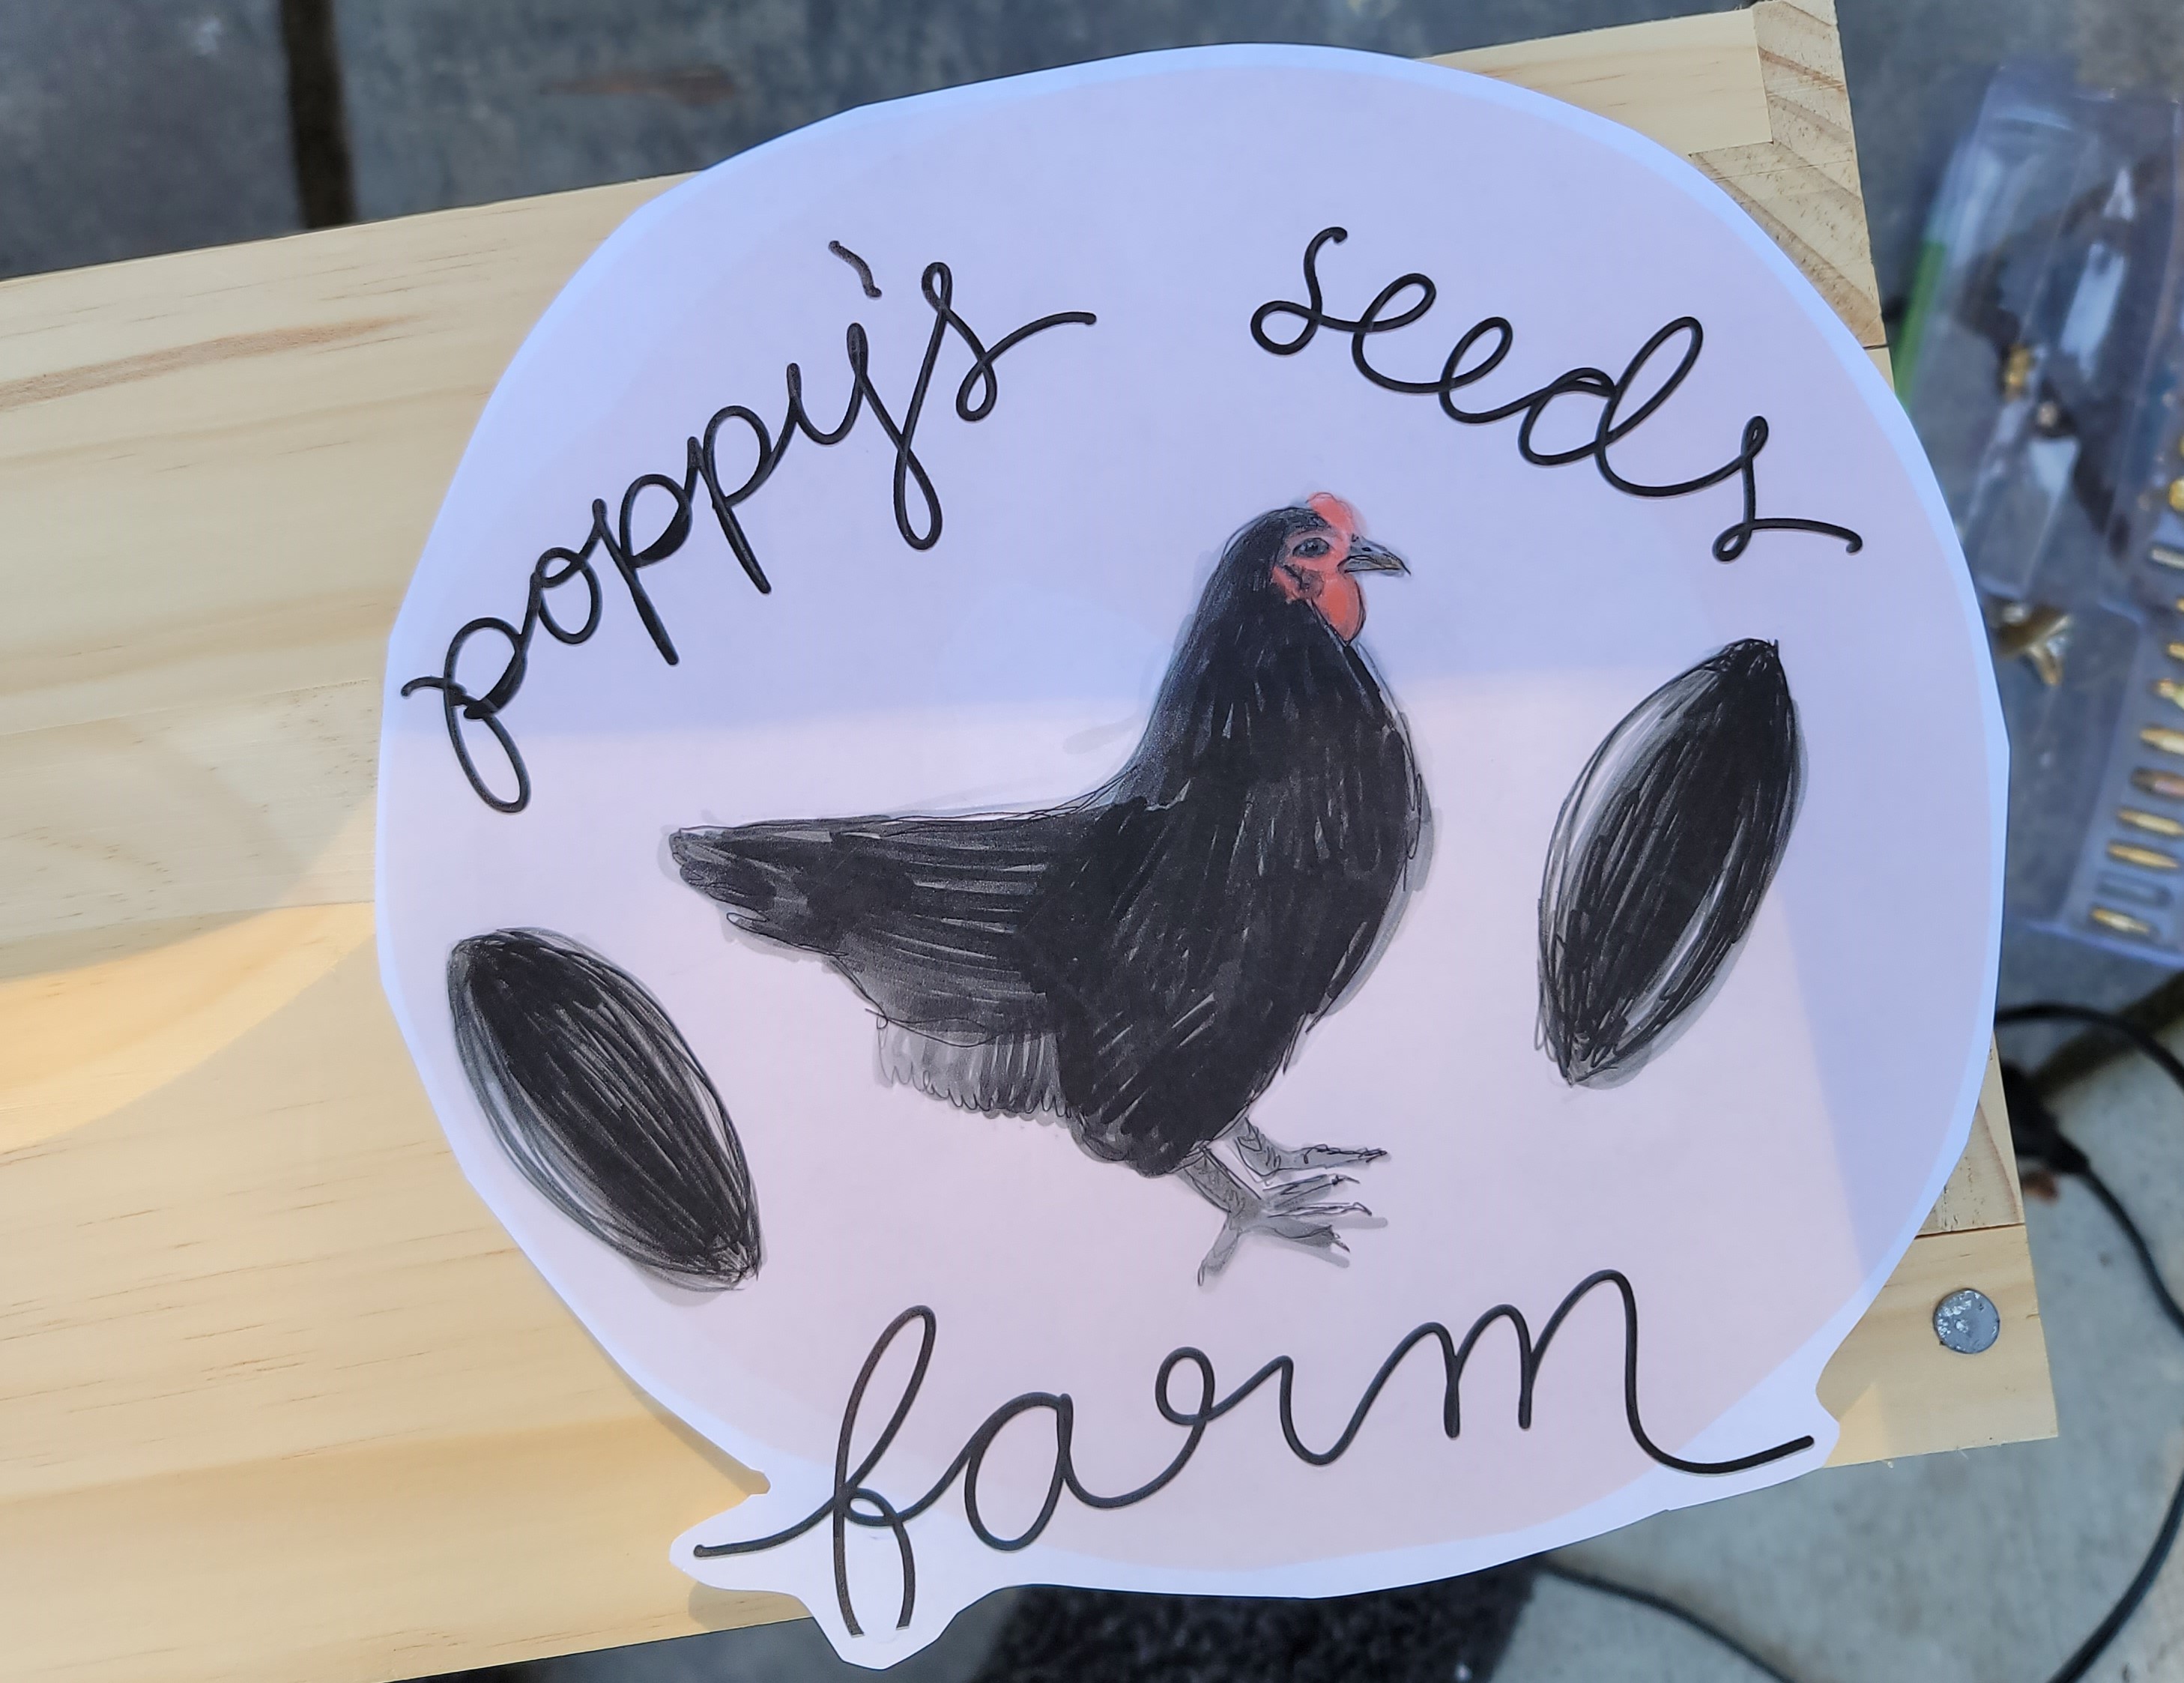
I used a pencil to firmly trace the design onto the wood. This leaves behind an indented outline. Then, I traced this indent with pencil, so I would know which lines to follow with my pyrography pen.
Now you're ready to start burning some stuff!
 Pick the tip you want to use. I like the small, rounded tip the best for tracing outlines, and the medium-sized, double tapered tip for shading. To trace lettering or outlines, I would choose the rounded tip. Screw the tip in to the top of our pen BEFORE you turn it on! The tip heats up almost immediately if the pen is already hot. I like to set the pen to the highest setting so it heats up quickly, but there is also a medium setting that works well.
Trace your outline. If you need to change out your tip to do shading, unplug the pen, give it about 5-10 minutes to cool slightly, and change out the tip using pliers.
Make sure you move the pen smoothly, but not too quickly. It can catch on the wood and burn in an inconsistent way. The smoother and steadier you are, the better the burn will be.
Once you are done burning your design, go over it one more time with sandpaper. Now you're ready for the finish!
Finishing the wood: I advise wearing gloves. The finish won't hurt you, but it is sticky, annoying, and smelly if you get it on yourself. Pour the Miniwax urethane into a tray. Using a natural bristle brush (links to both of these items are above), paint a thin coat on to your hive body. Let it dry for 4 hours. After 4 hours, you can add a second coat.
And that's it! Let your project dry for 24 hours outside, and give at least 48 hours before you introduce any bees in order to air out any chemicals.
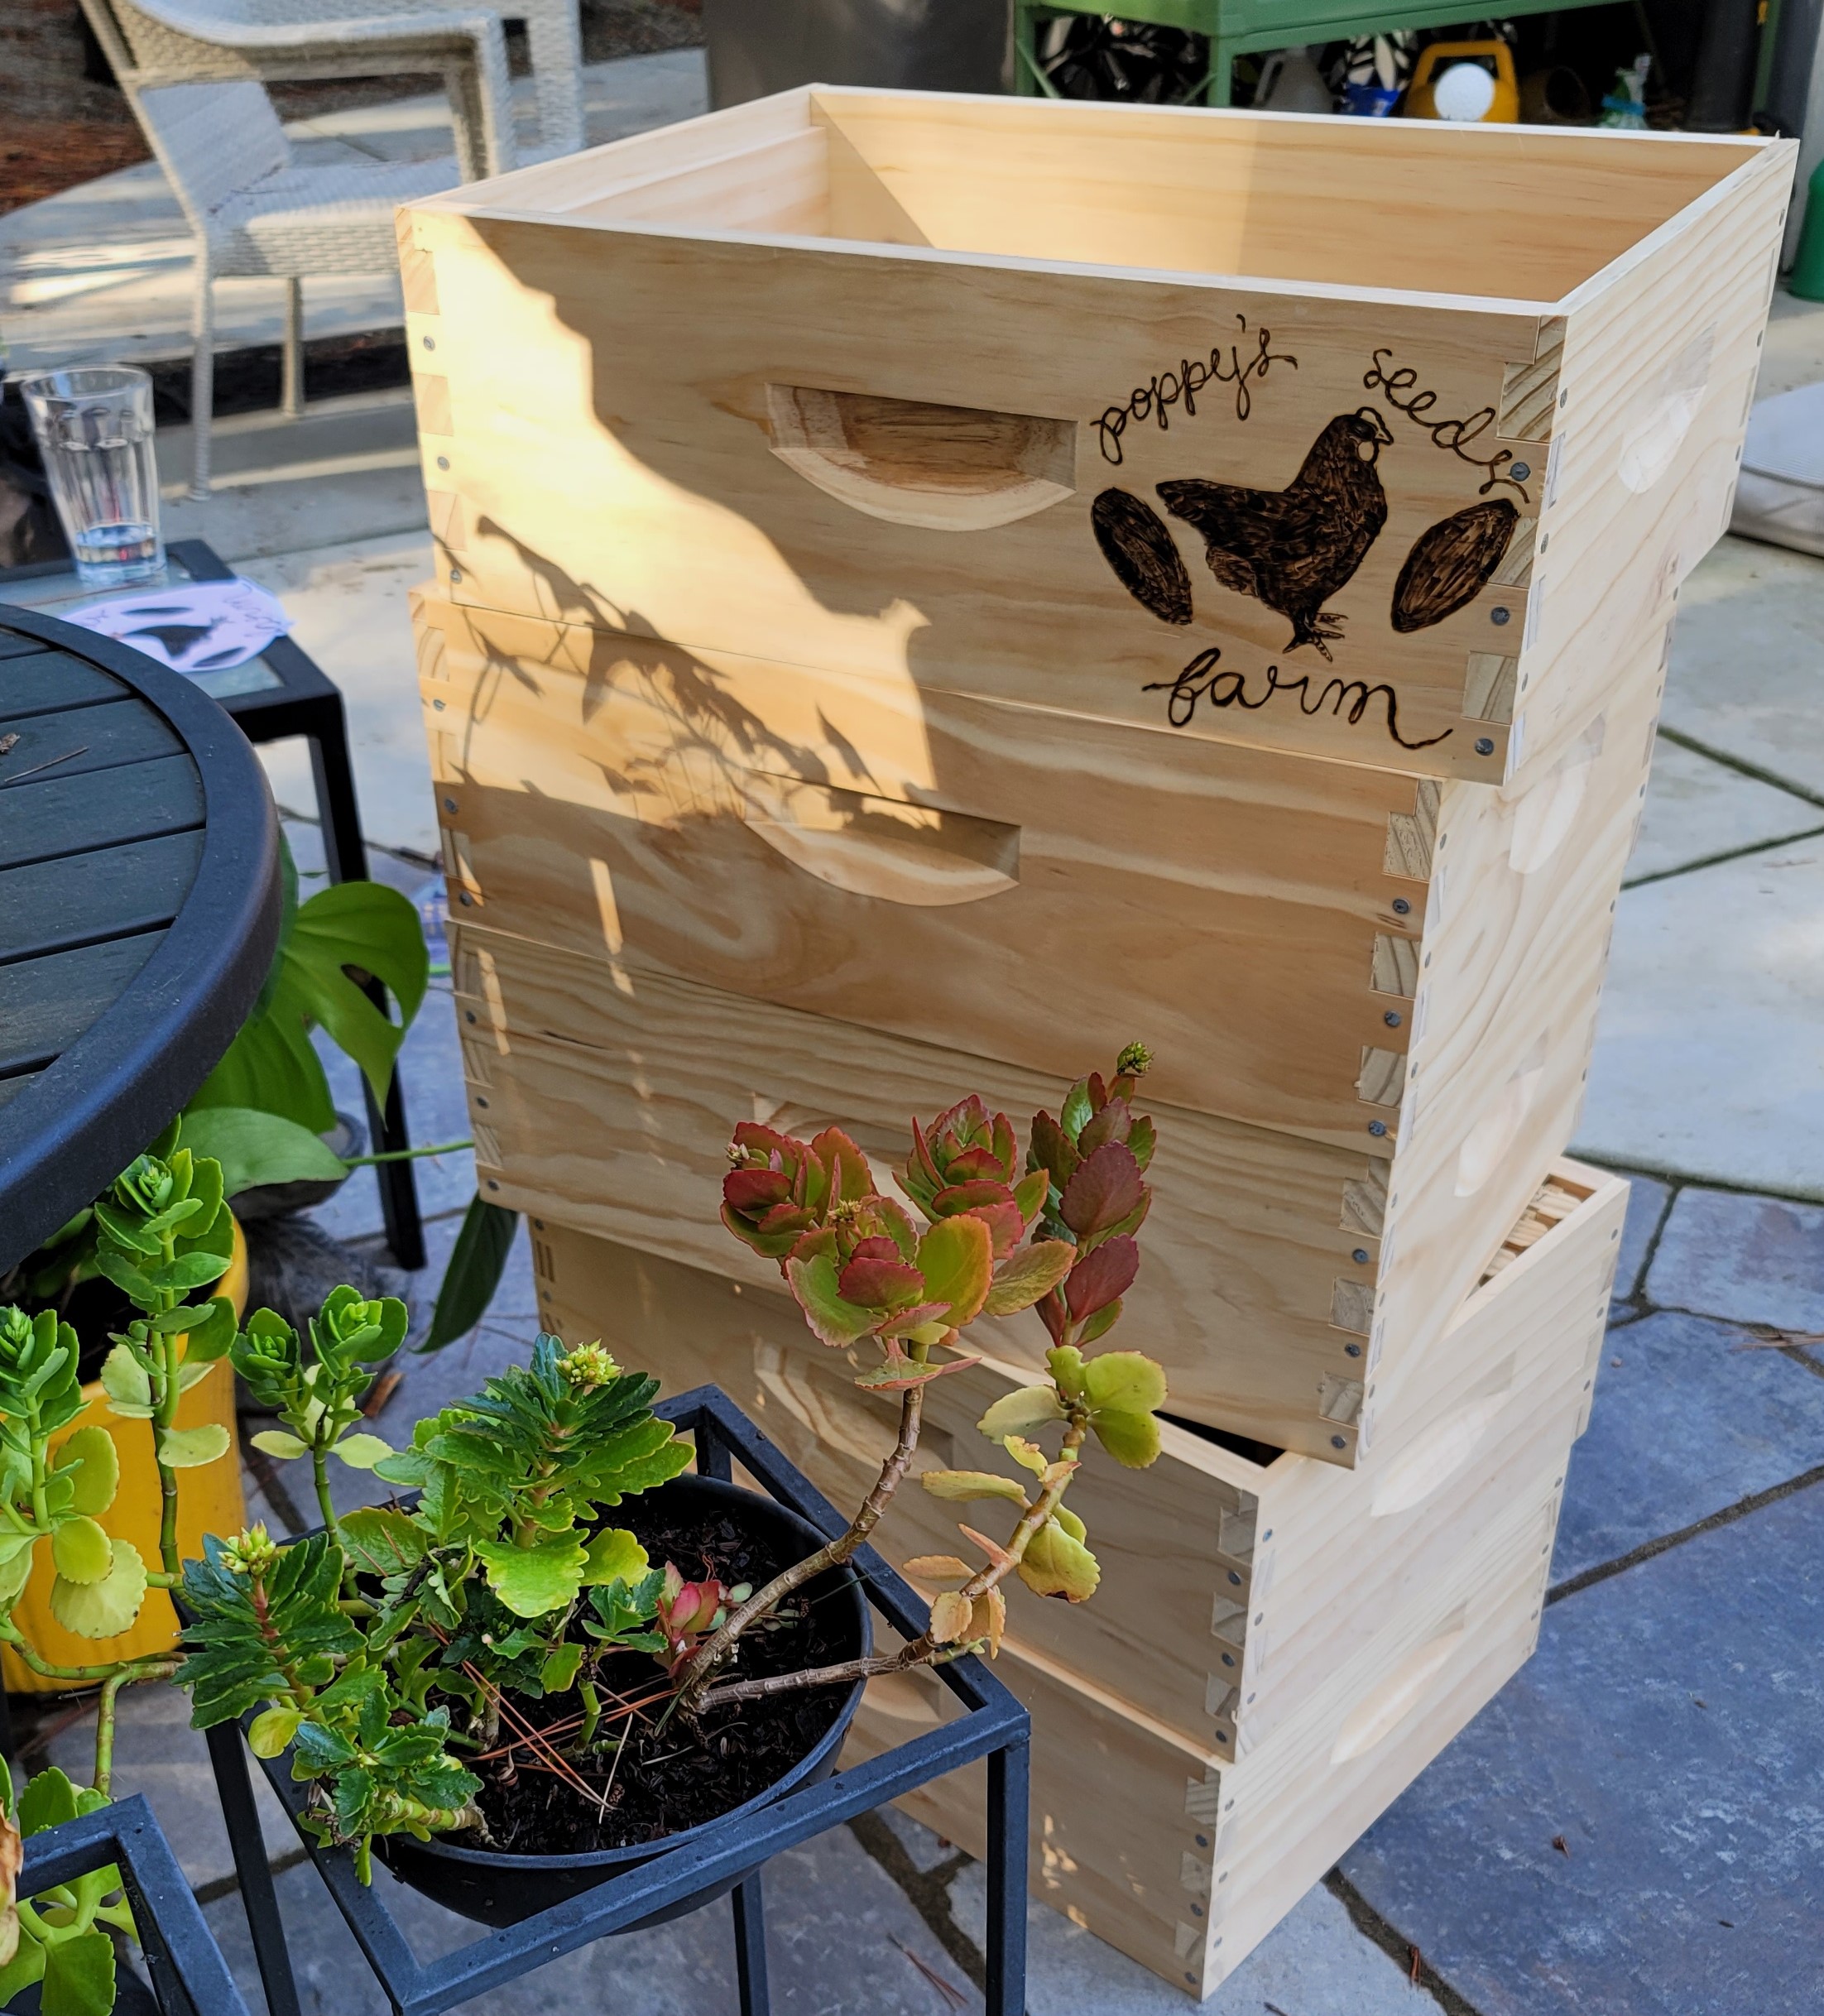
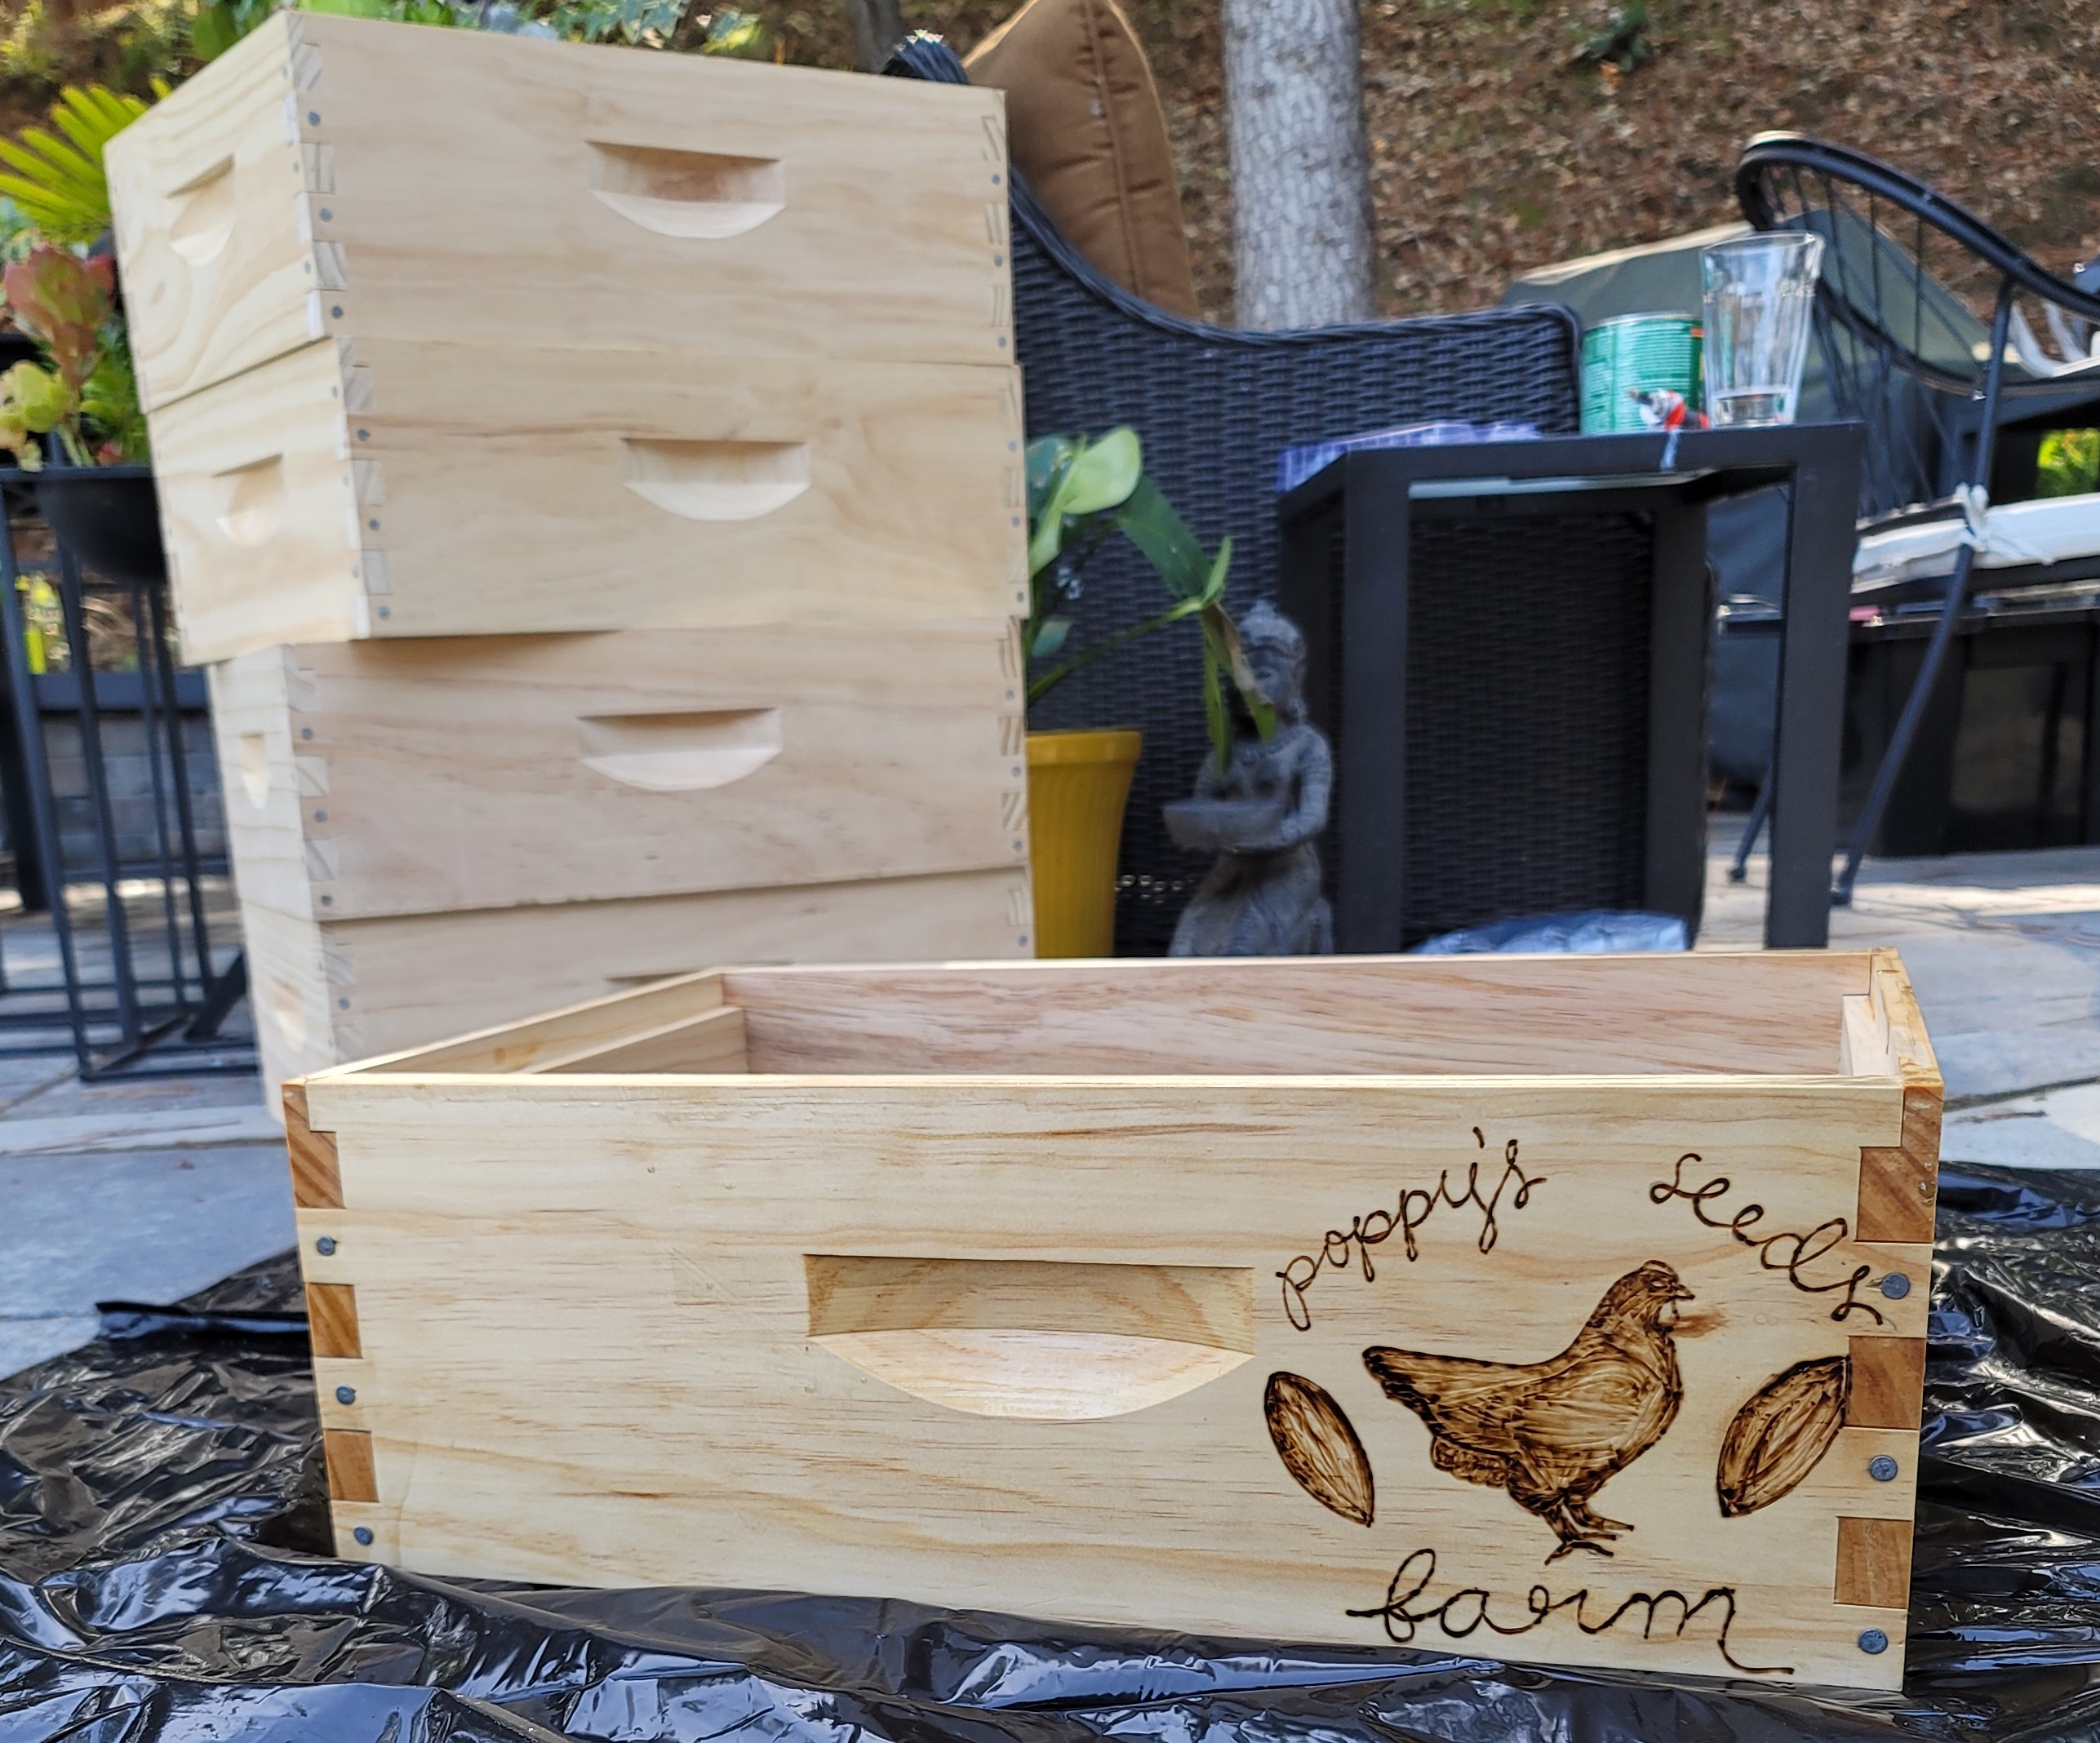 This process is more time-consuming and labor-intensive than painting, but I think it is worth it! If you end up trying this project please feel free to send me any pictures of your final product through the email, facebook, or instagram links at the top bar. I would love to see your finished hives!
 Want to join the flock?