


Raising quails from chicks can be very rewarding. My quails are very friendly and comfortable around me, and I attribute that to the fact that I hatched and raised them myself.
If you are able to hatch your own chicks, or are fortunate to purchase some day old chicks, here is a quick and easy guide for hatching, brooding, and caring for chicks from day one to adulthood.
Here's my quick and easy pocket guide to quail chicks.
Helpful Links to Get You Started:
Hatching: I highly recommend using the Hovabator Genesis Incubator linked above. After doing extensive research, I found it to be the most "set it and forget it" of the incubators that I could find. Many people opt to get a second temperature/humidity reader for their incubator, but I have been completely fine relying on the Genesis' readings.
I also like to use the Hatchabatch app to track the hatch.
 If you are incubating your eggs, it is important to decide if you want to hand-turn or auto-turn your eggs. The Hovabator Genesis will turn the eggs for you, so the only thing you will need to monitor is humidity. Unless you have a power outage or something drastic happens, the temperature will remain quite constant at the level you set it at.
Coturnix quail eggs take less time to incubate than chicken eggs, at only 17 days. Mine hatched on day 18, and people have reported hatching anywhere within 17-19 days. If hatching happens too much earlier or later than this general window, it can indicate an issue with the incubator environment.
You want to be sure that your incubator is 99.5 degrees for the first 14 days, with 40-50% humidity.
 Some people will do a "dry incubation" with quail eggs, but I personally found success with higher humidity. After 14 days, for the final 3 days, you will need to raise the humidity to 65% and remove the egg turning mechanism, if you are auto-turning. This makes it so that the difference in moisture between the inside of the egg and the outside of the egg are relatively similar. If the inside of the egg is wetter than the air in the incubator, you risk "shrink wrapping" your chicks. Shrink wrapping happens when the inner membrane contracts over the chick, which can suffocate it and/or make it much more difficult for it to hatch.
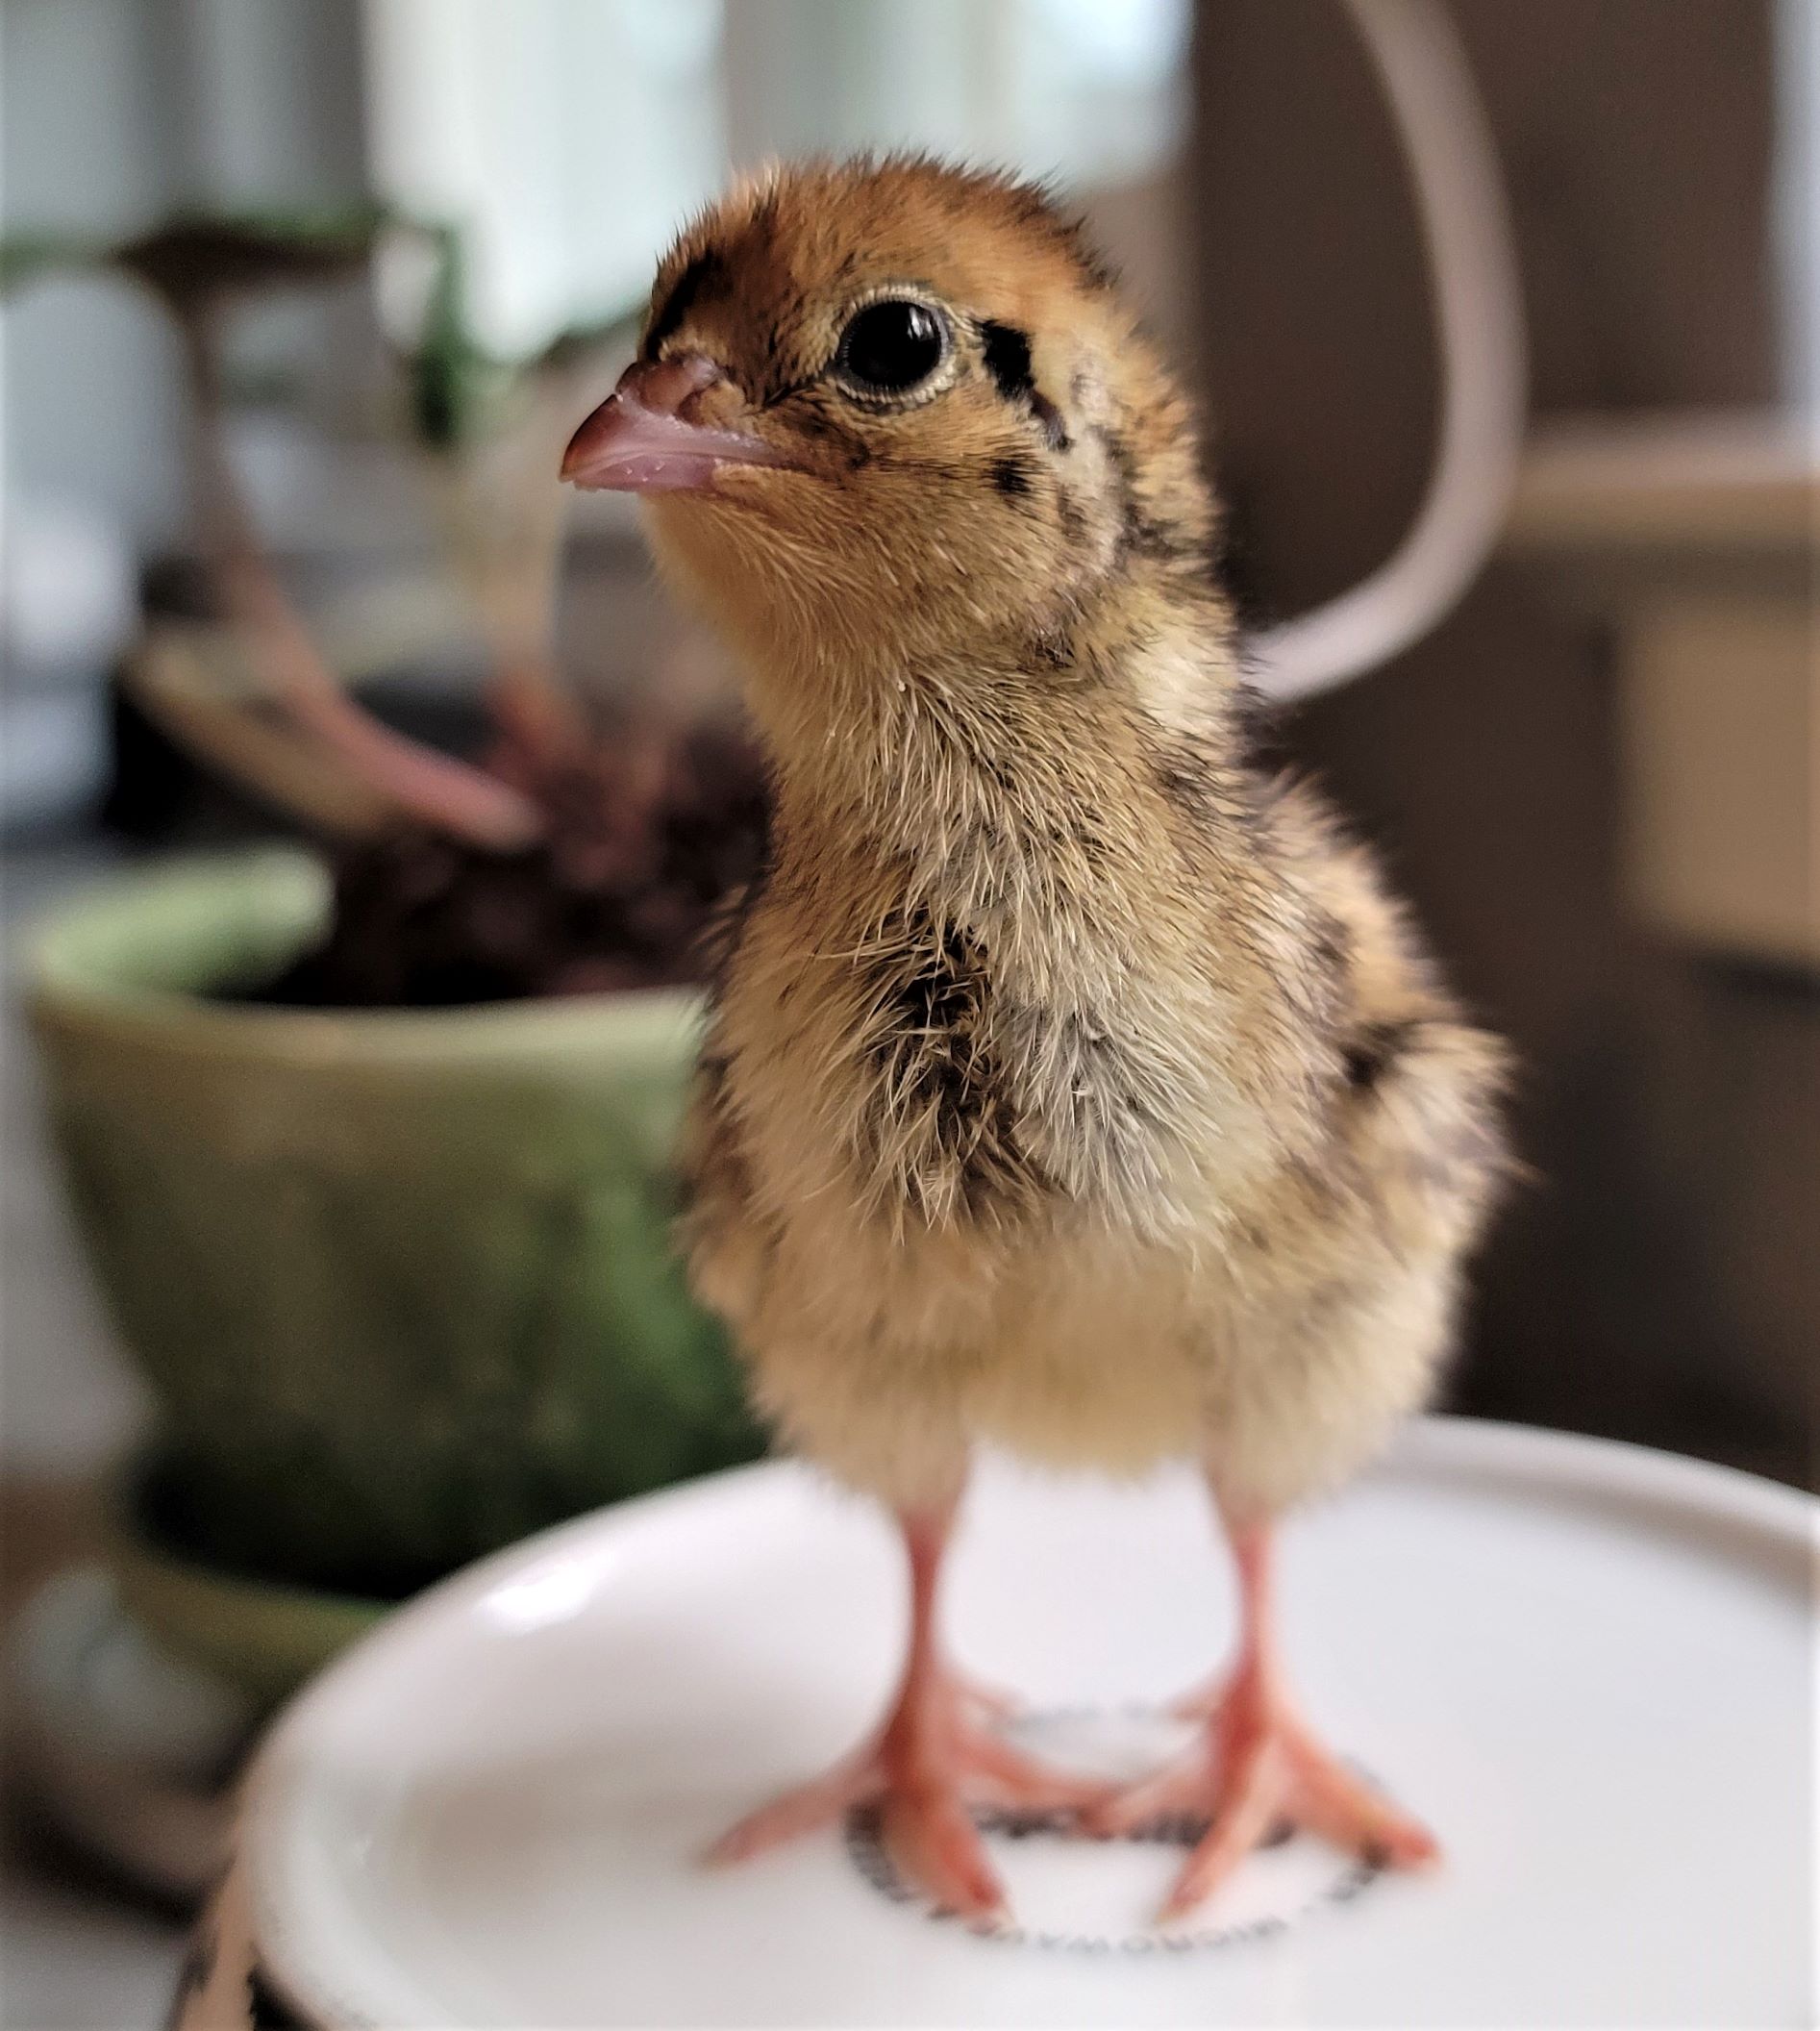
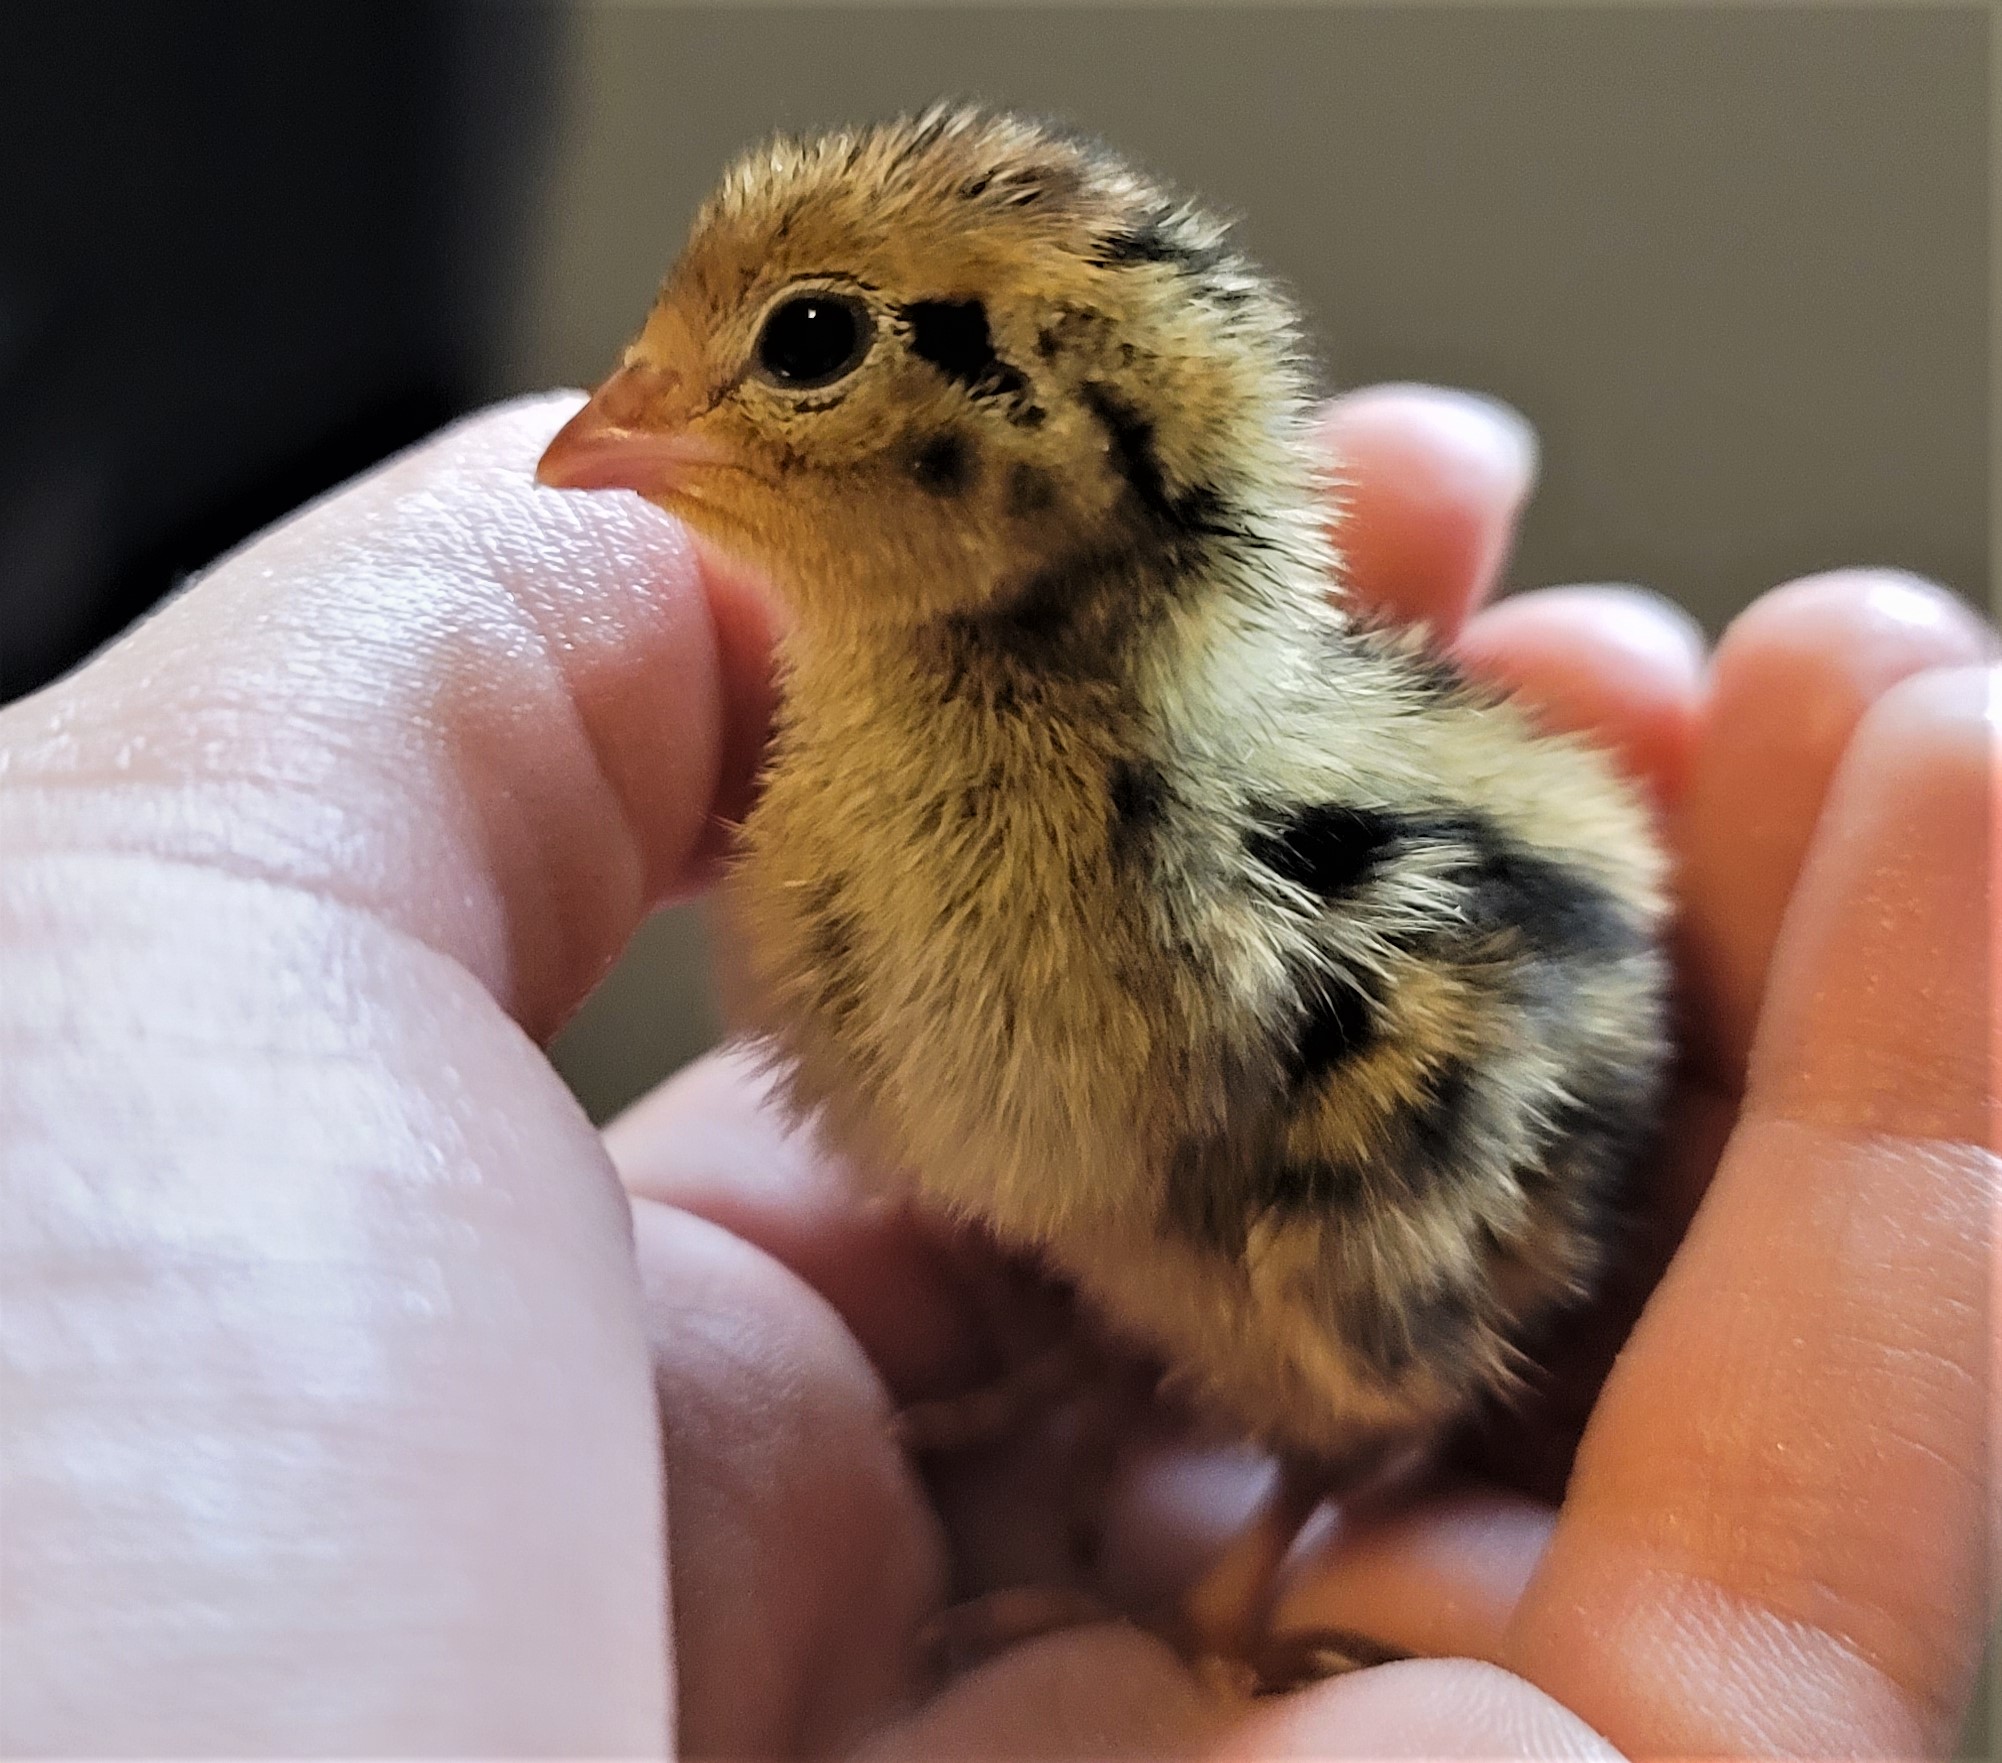
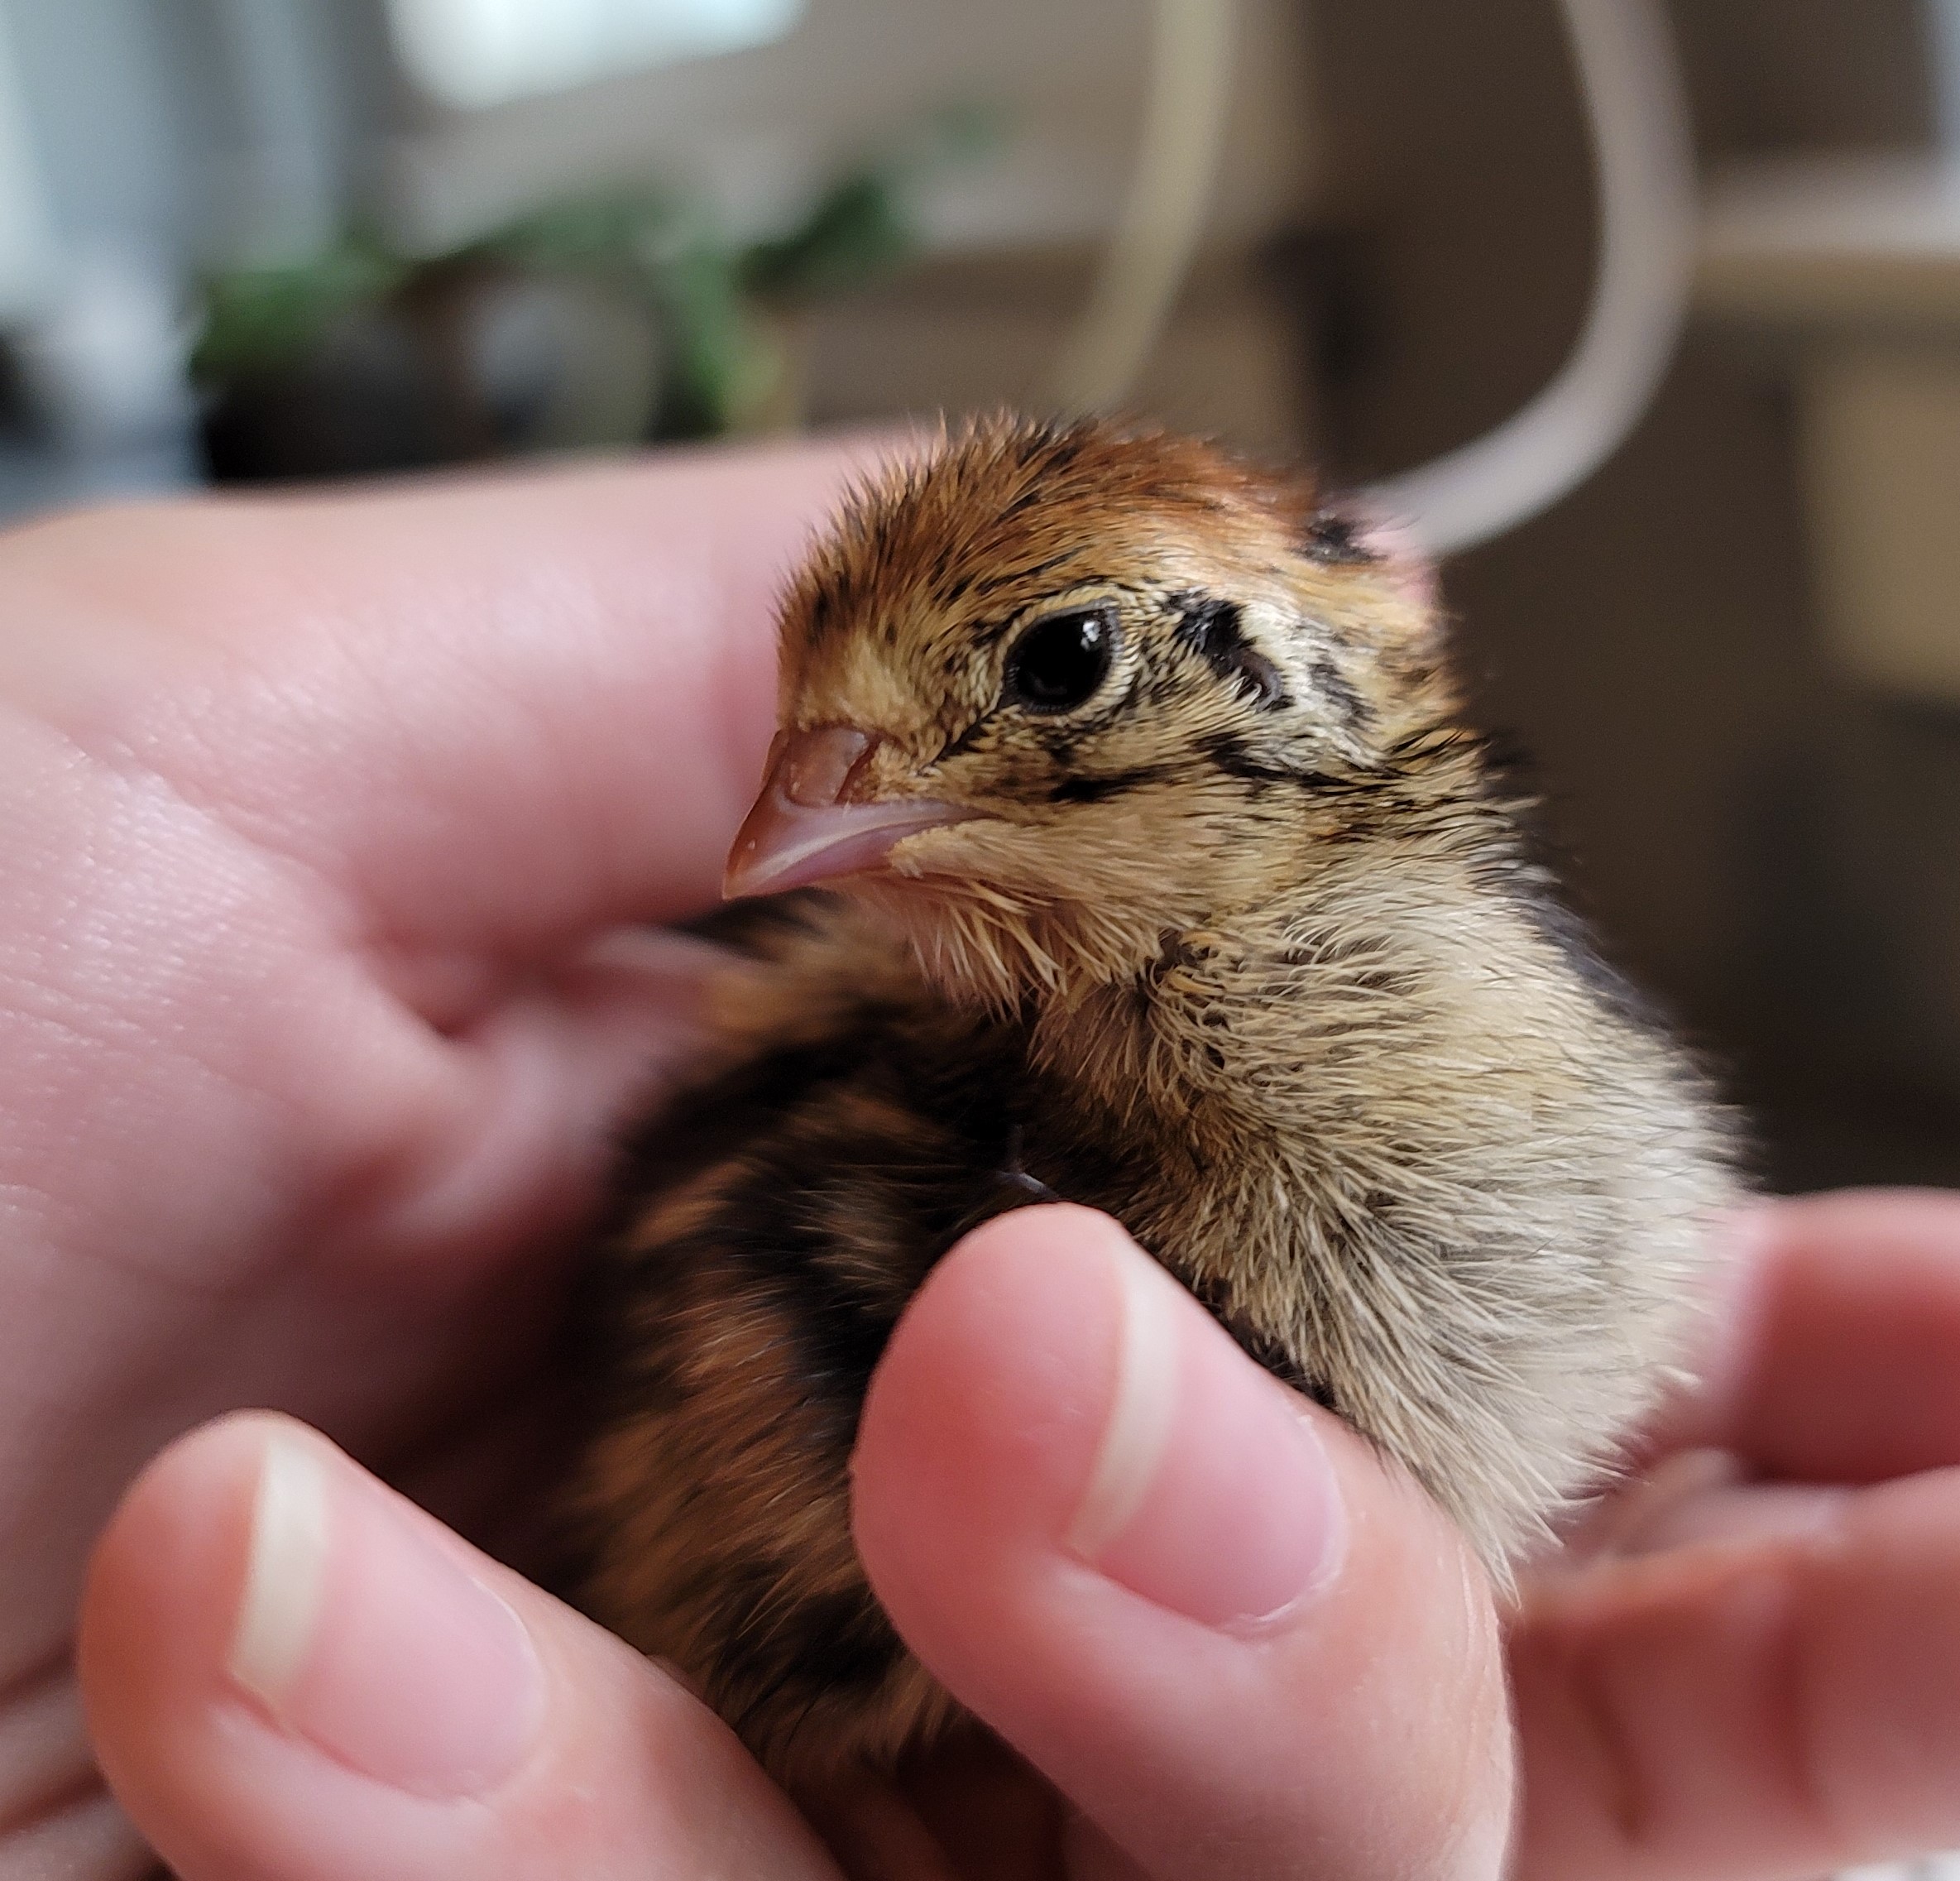
Once your chicks hatch, they will take a day or so to dry off and absorb the rest of the egg yolk. On a baby chick, you can see a little bulge on their belly when they first hatch. Don't worry, they aren't sick. This is their little starter pack for life. Because they are still absorbing these nutrients, they can be without food for a day or two in the incubator.
It is best to leave the chicks in the incubator after hatching for a minimum of 24 hours, so they can dry off completely. Otherwise, you risk chilling them if you remove them while they are still wet.
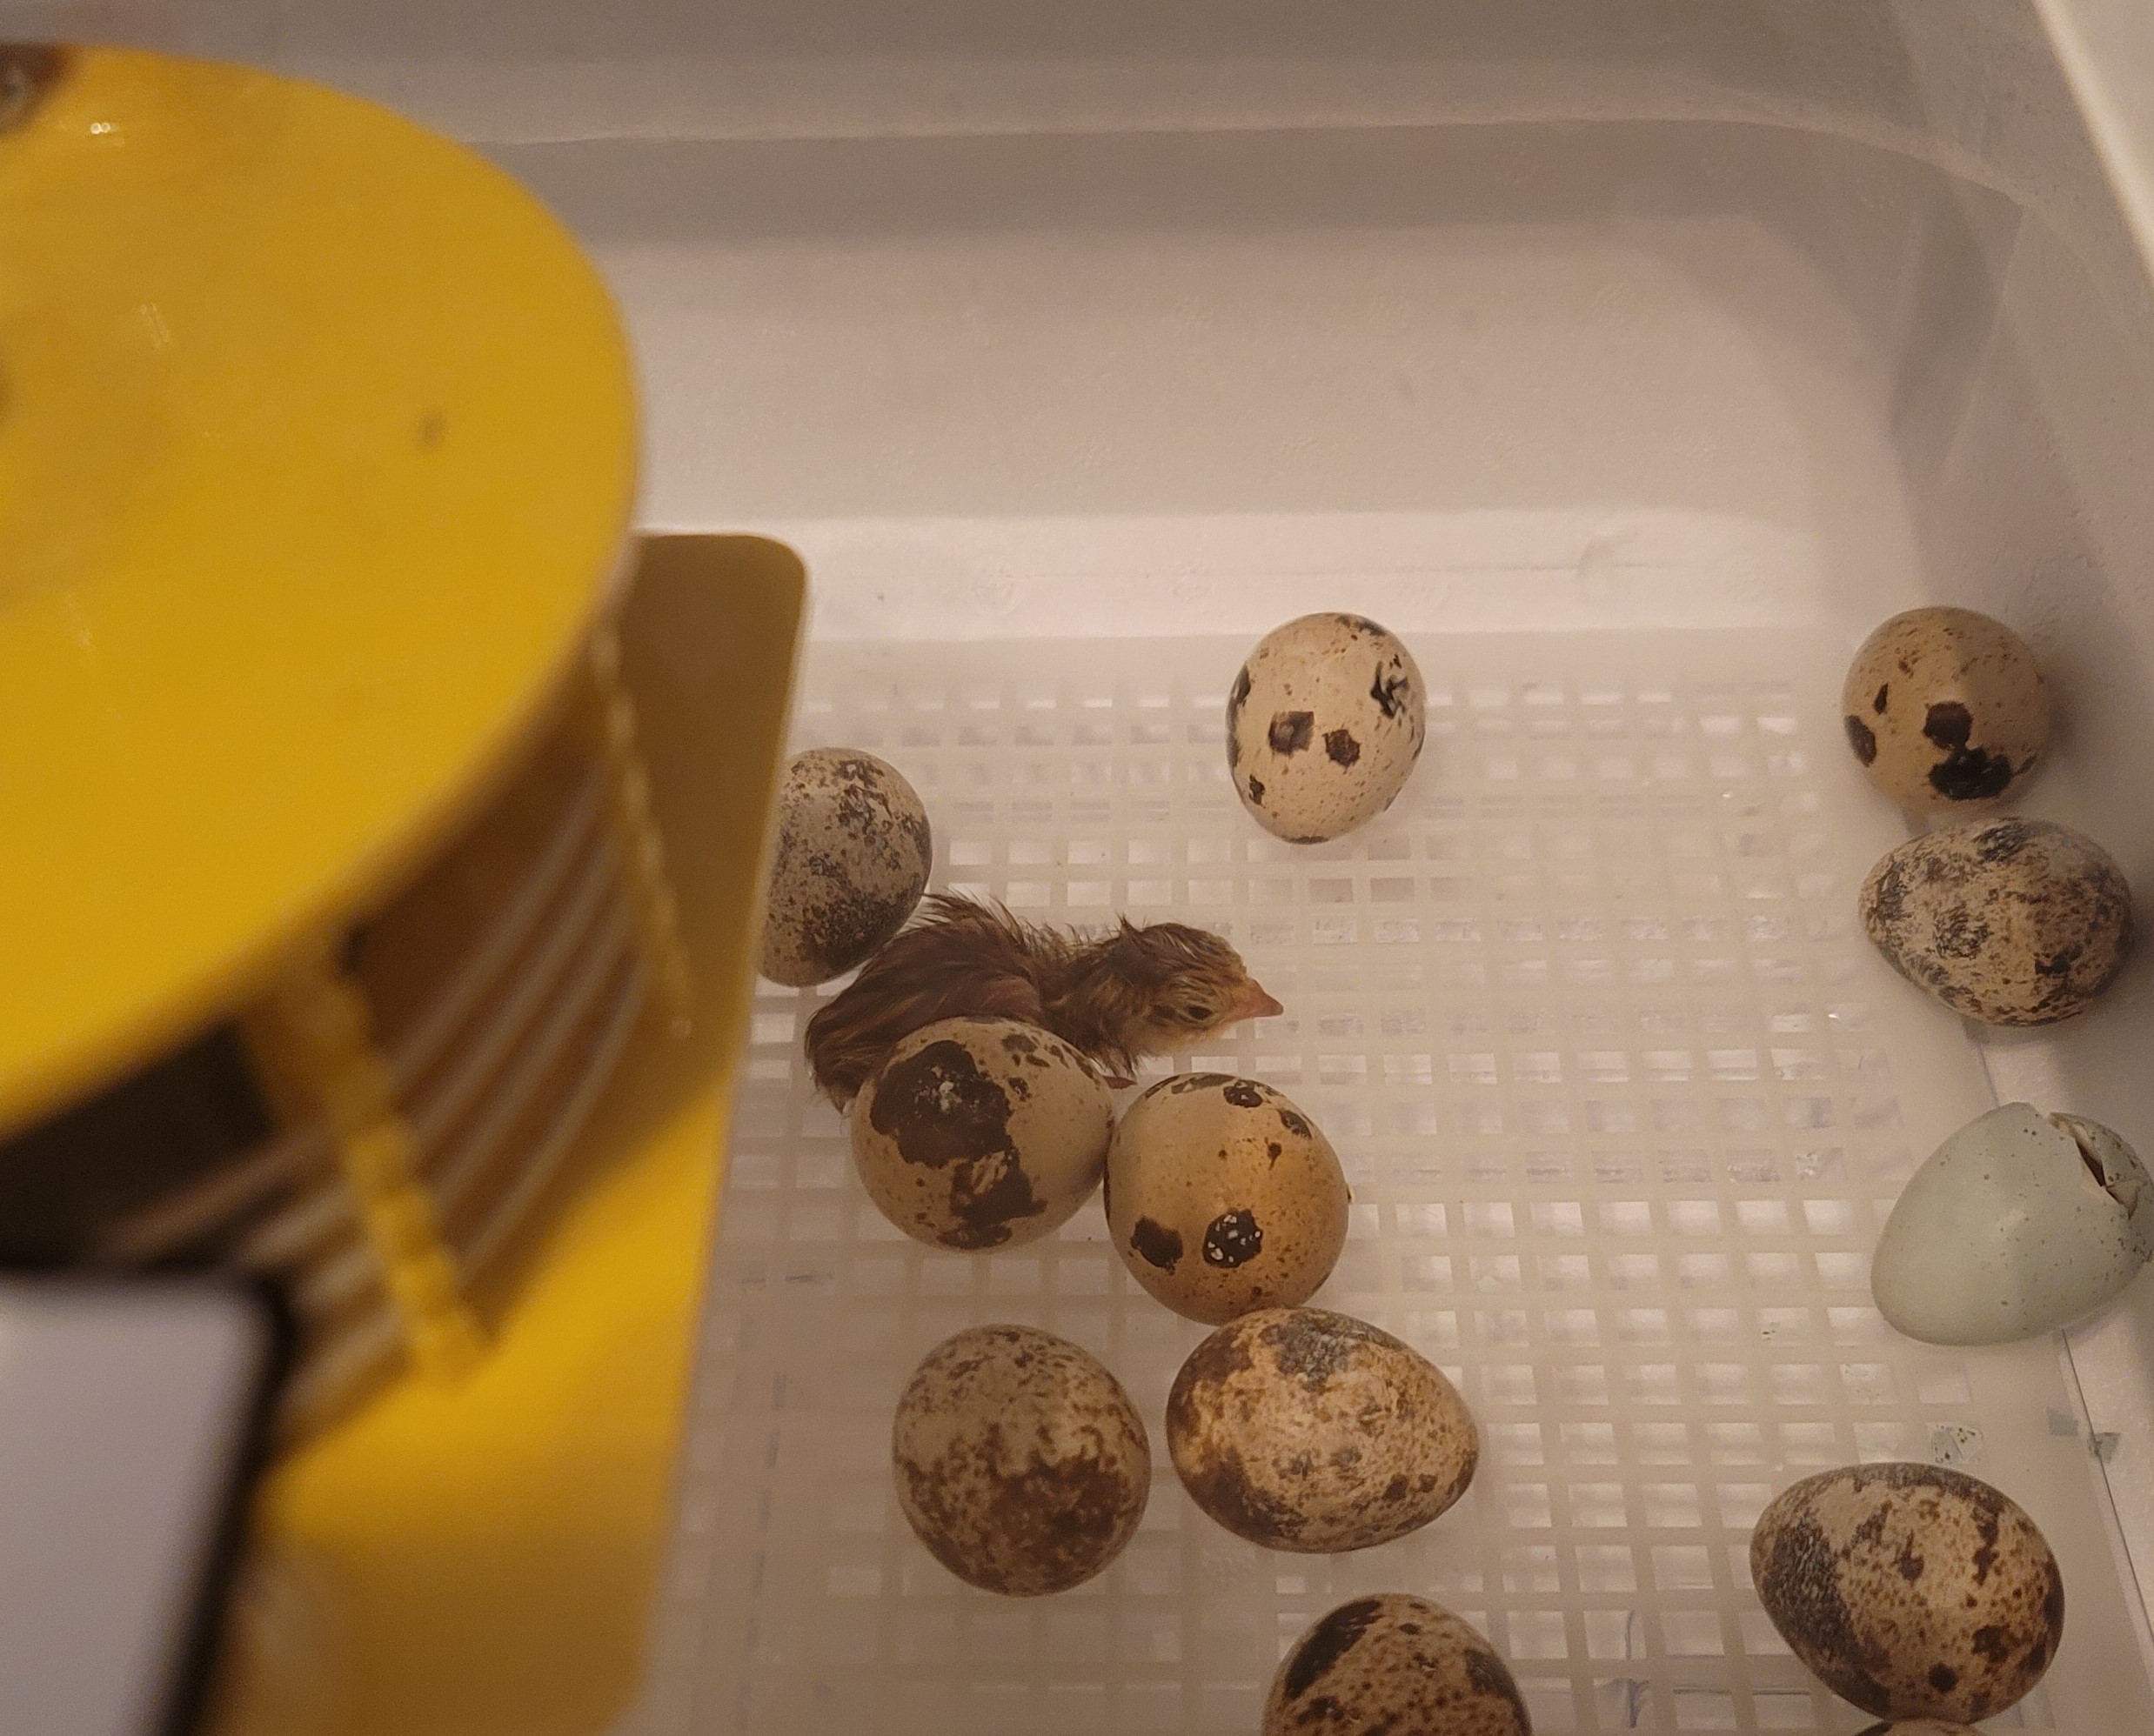
 Even if it is tempting to remove them, this gives them the best start on life. However, I would not recommend leaving chicks in for longer than 48 hours. You risk the chicks getting hungry and pecking at each other. If some chicks hatched earlier and are fully dry, you can remove them first, but be mindful of any pips happening in the incubator because opening it for too long to remove hatched chicks could shrink-wrap some of your late bloomers.
Once everyone is hatched, dry, and running around, it is time to move them to the brooder.
Brooding: Before you move your chicks from the incubator to the brooder, you need to be sure that the brooder is the correct temperature. Quail chicks are teeny tiny, and are more sensitive to cold than chickens. They require a brooder that starts at 95-100 degrees, right out of the incubator. It takes a little time for the brooder to heat up, so I recommend setting up and plugging in during your hatch.
Set up your brooder inside, sheltered or even covered, with a heat source that gets hot enough to allow for one corner to be very warm. As with other kinds of chicks, quails like having areas in the brooder that are less hot than others, but try not to make it so that one corner is warm but the food and water are placed in a cooler zone. If the food and water are too far from the heat, the chicks can get chilled just by seeking their needs.
Quails need a hotter brooder than chickens! They need to start out at 95-100 degrees F for the first week, then down 5 degrees each week from there.
 I like to use heat plates, because they are more fire-safe and are a more natural method of chick-raising (it simulates a mother bird more realistically). I added a link to a heat plate above. They come in many sizes, so depending on how many birds you are raising, you may need a different size. They are adjustable, so as the chicks grow you can raise the height. Since the heat plate radiates heat mostly downwards, I like to start my quails in an enclosed box before moving them to the open-sided brooder (pictured) once they are a little older.
A storage bin with a lid slightly askew will do just fine. Once they are about 3 weeks old, you can move them to the open-sided brooder. Quails grow really fast, so they will be feathered and practicing flying before you realize it. They are fully mature by about 5-6 weeks.
To set up the brooder for the new chicks, you will need food, water, a heat source, and bedding.
 I use pine shavings on the bottom of the brooder. They absorb moisture, keep down the smell (baby quails poop a LOT), and are easy to switch out. Note that cedar is toxic to quails and chickens, so avoid any bedding that is made with cedar. You will need to set up a waterer with fresh water. I add chick boost probiotics/electrolytes to the water for the first week or two to give them a nutrient boost. Be sure to change the water at least once daily; the chick boost is best when fresh.
Also, the chicks will need to eat a high protein gamebird feed. I use the 30% gamebird starter and throw it into my blender to grind it up into a powder. They have such teeny beaks when they are little that they can choke on (or sometimes not even attempt to eat) the crumbles in their normal state. After about week 2 or 3, I stop grinding up the crumbles for them.
Note that the feeder I am recommending does not have a jar attachment, and the waterer is specifically quail-sized.
 This is because quail chicks are more likely to drown than chickens, and they can also get stuck inside of their feeders because they are so small. They will climb in and get trapped. If you are using a regular chick waterer, be sure to put rocks or marbles in the bottom so that the water level is lower. This will prevent drowning.
Moving Out: Make sure your quails are fully feathered (around 4-5 weeks old) before moving them outside. If you have pharaoh coturnix quails, you can tell the gender of the quail by looking at the feathers on their chest. A plain orange chest is a male, and a speckled chest is a female, easy as that! Other colors of coturnix require vent sexing, which is a separate process. Sometimes, a male will start making trilling noises, and that is another easy way to tell.
Be sure that you have a ratio of at least 5 females per one male. If you have extra males, plan to set up a separate "bachelor pad" for them to live in together. Don't worry! Males can live together without females just fine.
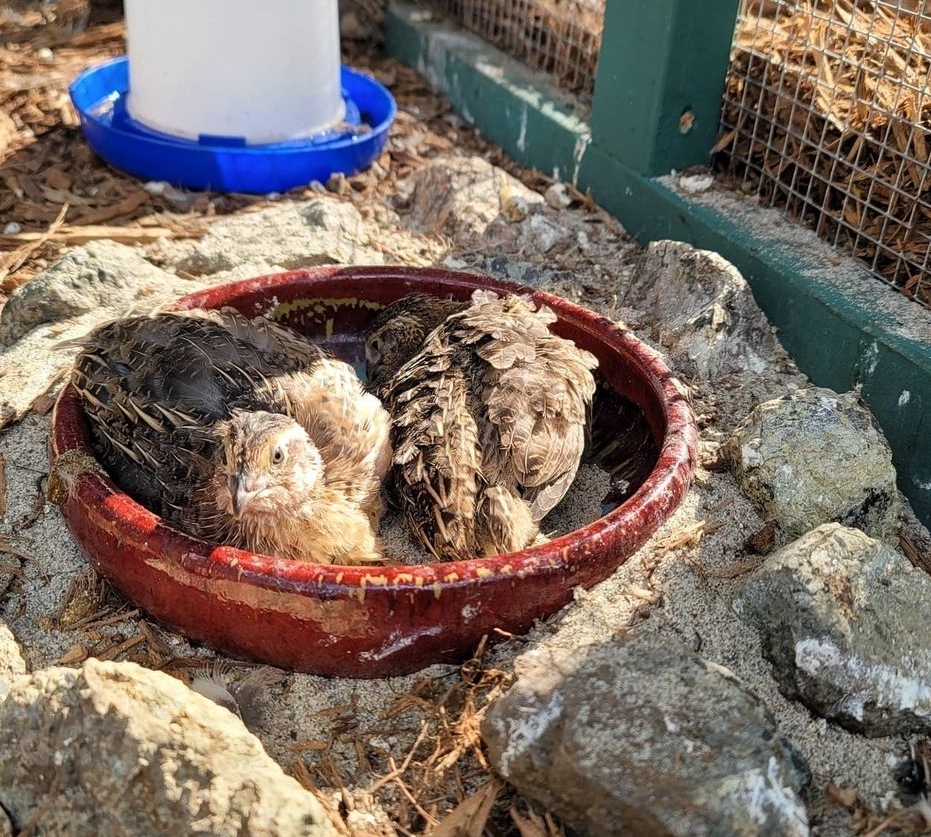
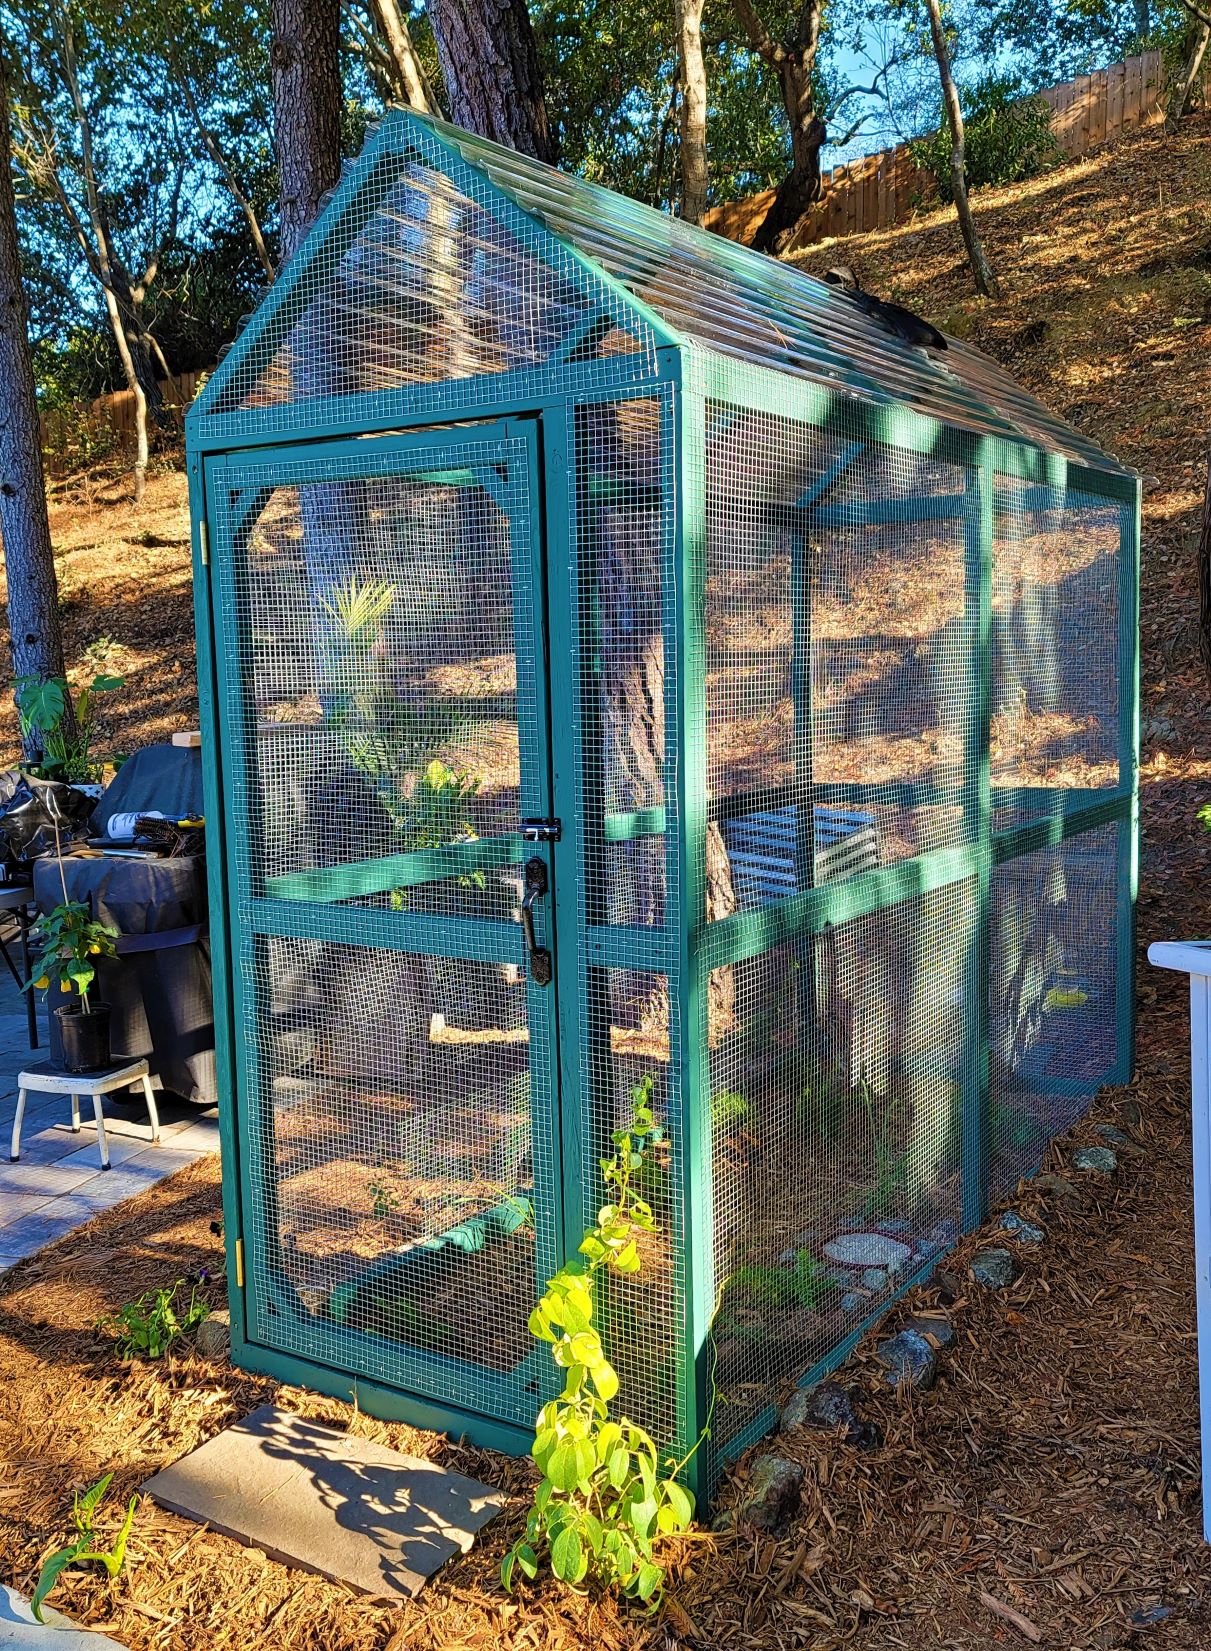 We keep our quails in an aviary. My husband built this, it is large enough to house 30 quails, but I keep only 12 in here. Set up your outside quail area with food, water and shelter. You can put bowls or even tupperware containers full of sand outside in their enclosure. Quails will spend hours dust bathing in sand! I use horticulture or construction sand. Sandbox or play sand is not recommended, since it is very fine and can lead to respiratory issues for birds. If the quails were raised together, they should have no problem moving outside!
If you have more quails to introduce, stay tuned for future blog posts about introducing quails or chickens to preexisting flocks.
Do you plan to raise quails? Feel free to reach out to me on email, Instagram, or Facebook and let me know your quail plans for this year! Happy farming!
 Want to join the flock?